If you put a soldering iron and a pyrography pen side by side, it may be difficult to tell the difference, especially if you are an aspiring wood burner.
They’re both pen-shaped, with ergonomic handles, and many beginner kits contain soldering irons. However, that doesn’t necessarily mean that these tools give similar results.
You can use a soldering iron to burn wood, but it won’t provide the same results as a pyrography pen. That’s because a soldering iron lacks the ergonomics, temperature controls, and appropriately shaped-and-sized tips of a pyrography pen, making it unsuitable for creating high-quality artworks.
In this article, I will discuss whether you can use a soldering iron for wood burning and whether it can be used for stippling, too.
I’ll also go over the steps for burning letters or runes with a soldering iron and advise on where to find a head converter or tip adapter for using different shapes of tips. Read more.
Can a Soldering Iron Burn Wood?
A soldering iron can burn wood. It’s a great starter tool for beginners looking to try out wood burning. However, it’s not the best tool for advanced pyrographers. Experts need higher temperatures, better ergonomics, and specially-shaped tips of pyrography pens to create high-quality artwork.
Soldering irons are inexpensive; some have a price tag of less than $50! They’re great for getting started, especially when you’re not sure you’re ready to commit.
In addition, many people have a soldering iron in their garage and will only need a head converter and tips. They come in beginner’s kits, some of which include stencils and tips.
While soldering irons and pyrography pens overlap in usage, they’re not the same tool. Pyrography pens have smaller tips that feature wires, which allow you to carve and gouge as you burn and create thin, clean lines.
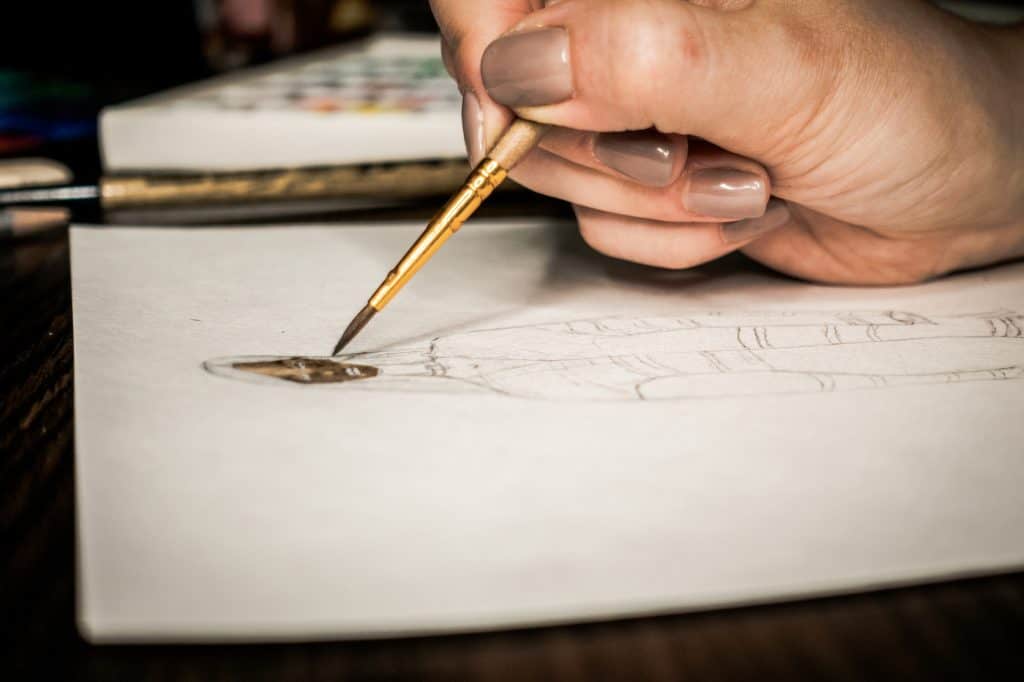
They’re generally smaller in diameter and easier to hold like a regular pen, allowing you to make easier cuts.
They also allow you to use ball tips, which can be very useful for stippling. Lastly, they reach temperatures that are sometimes hundreds of degrees higher than soldering irons.
No head converter or tip adapter can turn a soldering iron into a pyrography pen; their tips will always be bigger, and their handles thicker.
So, while it’s recommended by many as a beginner’s tool and for making large lines or shapes, you will likely want to purchase a pyrography pen anyway once you progress past the beginner stages of the craft project (sources: Tactile Hobby, Tools Doctor & Welding Mastermind).
Soldering Irons vs. Wood Burning Tools for Stippling
Stippling is a word with many uses, but it means to shade using many small, closely-spaced dots or burn marks in art and wood burning. If stippling is dense, it gives the appearance of shadows, whereas lighter stippling looks like light.
In addition, the dotting creates texture, which is very appealing when working with wood (sources: Wikipedia & Artists Network).
It doesn’t look very easy, but it’s simple when you have the right tips. Fortunately, all you need to do stippling is a soldering iron with a rounded, blunt tip. If your soldering iron has a slotted tip, you can change it with a head converter or tip adapter (source: The Hideout).
Stippling with a soldering iron will create large dots instead of smaller ones. If this is not what you want, you can use a slotted tip to create cross-hatching or use other shading techniques. Traditional or digital art books or tutorials are good places to look for pointers.
How To Use a Soldering Iron To Burn Wood (e.g., Letters or Runes)
When burning letters or runes into the wood, you first have to decide whether you’re using stencils or drawing them freehand.
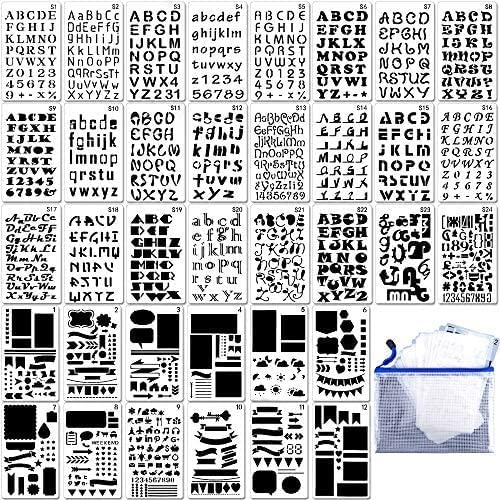
Kits like this Aughsy Letter and Number Stencils Drawing Templates can make the process easier, especially if you’re new to wood burning or don’t yet have steady hands. You can also make your own by tracing a printed-off phrase onto face-down graphite paper.
But if you wish to draw your letters freehand, you’ll need to make sure your soldering tip isn’t slotted一like a screwdriver. This is a common wood-burning mistake that causes the tip to gouge, creating an uneven mark when drawing round letters like O. (source: Klingspor’s Woodworking Shop)
Either way, you’ll want to hold your iron by its grip—like you would a pen or pencil—and be careful not to burn yourself or anyone nearby.
Remember, it’ll heat up to several hundreds of degrees Fahrenheit. So remove flammable items from your workspace, and ask for extra space or time from housemates beforehand to minimize your chances of burning someone or something.
With your safety ensured and common mistakes avoided, it’s time to do the actual burning. Here’s how to use a soldering iron to burn letters or runes into wood:
- Prepare your wood by sanding it until it’s smooth.
- Wipe the surface clean of any sawdust with a dry cloth.
- If you’re using it, place your graphite paper over your wood-burning project.
- Place your print-out or stencil on top of the graphite paper.
- Tape them all into place, so they can’t move.
- Trace over your letters on the print-out with a pencil, so they transfer to the wood.
- Take off the tape, print-out or stencil, and graphite paper.
- Check to make sure it transferred well enough for you to follow.
- Turn on your soldering iron. If it has temperature controls, use high heat.
- Wait until its tip is hot; it will radiate heat you can feel with your hand when it is.
- As you would while writing, trace your letters, occasionally wiping the soot away.
- Using fine sandpaper, sand away the excess soot from outside your lines.
- Wipe your project clean of any sawdust or soot with a dry cloth.
- Using your soldering iron, trace your letters again, smoothing out any errors.
- Once more, sand away any excess until your letters’ edges are smooth.
- Finally, wipe your project clean with a dry cloth until clean (sources: Anusual Creates & Dylan’s DIY Workshop).
Where Can I Get a Tip Adapter or Kit for Wood Burning With a Soldering Iron?
To convert your soldering iron so it can work with additional tips, you’ll need a head converter or tip adapter. These are easy to find online and come with beginner kits.
To start, you can purchase a beginner’s wood-burning kit, such as this INTLMATE Adjustable Soldering Iron Set. It comes with a screw-on head converter, multiple tips, and sixteen stencils for a quick, all-in-one solution. It also comes with a soldering iron, serving as a backup or even a gift.
If you already have a variety of tips and only need a head converter, you can find them listed alone online. However, I’d recommend checking your local store for two reasons:
- You can test it for fit before buying.
- You won’t have to pay shipping/delivery fees for a relatively inexpensive purchase (head converters typically cost less than $20).
Last but not least, you could purchase a pyrography pen, such as this Adrattnay Store Adjustable Pyrography Machine Kit.
It has an adjustable temperature with a digital display, cools and heats up fast, and goes up to seven thousand degrees Fahrenheit. It would be a great addition to your soldering iron
As you can see, a soldering iron is a great beginner’s tool for wood burning, even though it’s not as delicate as a pyrography pen. I hope this helps!
