


Your wood or metal fence plays an important role in the curb appeal of your property. When it’s looking weathered and old, refurbishing it is often the first course of action to consider.
Older fences that have seen a lot of damage may require wholesale changing, but for redeemable installations, sanding down the fence and applying primer and paint can bring it back to life.
The best sanders for fences in the market today include the SKIL Detail Sander, DEWALT Random Orbit Sander, and the TACKLIFE Random Orbit Sander. Although sanding fences by hand is possible, an electric sander will get the job done faster.
If you just want a quick recommendation, The DEWALT Random Orbit Sander is the pick of the bunch because it is great for sanding most wood fences, and can be used for other projects, too.
The Best Sanders for Refinishing a Fence
For a detailed breakdown of what I consider to be the best sanders for a fence, take a closer look at each of these products below.
After that, I answer common questions about fences that you need to know before you sand and refinish them.
Best for Small Fences: SKIL Corded Detail Sander

If you’re looking to refurbish a smaller fence, the SKIL Corded Detail Sander should be high on your list. Its lightweight design means it doesn’t feel too powerful for the job, and sanding corners is easier.
The compact profile is possible thanks to the smaller handle and the portable dust collection box.
The SKIL Corded Detail Sander is powered by a 1-amp motor that can deliver speeds of 12,000 orbits per minute (OPM). Such speeds reduce the amount of time you need to spend on a particular portion of your fence.
The rubberized frame and handle mute the machine’s vibrations even when it’s at full tilt, allowing you to work in comfort.
The blowback from a wooden or metal fence can jam the switch if it isn’t protected, slowing you down or causing a breakdown. You won’t have to worry about this problem with the dust-sealed switch on the SKIL.
The dust collection box does a good job of trapping the dust as you work, but the small size means you’ll have to empty it frequently. SKIL countered this drawback by making it easy for users to hook the dust box to a vacuum for a more efficient dust collection process.
Finally, this sander comes with a hook-and-loop sanding pad setup which can save you a lot of time when you have to change the sanding pad.
Overall, this is a decent product you can count on to get the job done when you need to sand a small wooden fence without risking damage to the wood due to excess power.
Pros
- Compact and portable build
- Rubberized grip
- Dust collector included
- Dust-sealed off/on switch
- Powerful 1-amp motor delivering 12,000 OPM
- Low vibration design
- Free sandpapers included in the package
Cons
- Small dust collector
- Feels small for large fence projects
Best for Large Fences: DEWALT Random Orbit Sander

The DEWALT Random Orbit Sander is the product to go with for bigger fence refurbishment projects.
This 20V 5-inch (12.7-cm) cordless system is feature-packed to deliver excellent results for most fence sanding projects. It comes with a brushless motor which ensures the 2.0Ah battery included can last more than an hour between charges.
Weighing 5.6 lbs (2.54 kg), the sander is a powerful but moderately compact unit that is fairly easy to handle.
The rubber over-mold handle makes maneuverability even easier by reducing hand fatigue as the tool vibrates in use. The sander delivers variable speeds between 8,000 and 12,000 (OPM).
The variable-speed switch is perfectly positioned (next to the power switch), so you can move between speeds quickly when necessary.
The power switch design on the DEWALT Random Orbit Sander is in line with what we’ve come to expect from sanders in this range. It is a rocker switch that comes with a rubber boot for keeping out dust and debris. You don’t have to worry about the switch being a weak link here.
The sander also has a one-handed dust bag. The design allows you to use dust bags from older Dewalt sanders. However, you’ll need a special adapter if you’d like to connect to a vacuum and save time on emptying the bag.
This Dewalt sander also has an 8-hole hook-and-loop sanding pad designed to simplify the paper changing process.
Overall, this is a low-vibration powerful sander you can count on for your larger fence sanding projects. The cordless design gives you more freedom, making the sanding process fun.
Pros
- Cordless design
- Long-lasting battery included
- Brushless motor
- Easy dust collection
- Dust-sealed power switch
- Variable speed design
- Excellent control with 8,000 to 12,000 OPM
- Rubberized grip
Cons
- Expensive adapter required for vacuum connection
- Extra battery often needed
Best for Wood and Metal Fences: TACKLIFE Random Orbit Sander
If you have a metal fence, the TACKLIFE Random Orbit Sander should be high on your list.
It’s a compact sander with a small dust collection box, but the highly efficient motor and overall design make it an excellent option to use when sanding a fence. It has a 5-inch (12.7-cm) sanding sheet that is large enough to work on all kinds of wooden and metal fences.
The motor is a six-speed 3-amp variant that can deliver up to 13,000 OPM. The handle and the body feature an ergonomic design to make the sanding process as stress-free as possible.
It also has a rubber covering on the handle like other top products to improve grip and reduce the vibration you feel while the machine is working.
The sander also has a small dust collection box that locks neatly, but as you’d expect, it’s inadequate for big sanding projects. Fortunately, hooking up a vacuum cleaner to the sander for more efficient dust collection is straightforward.
The TACKLIFE Random Orbit Sander ticks all the right boxes, but the design and the powerful motor give it an edge over the competition for people with metal fences in particular.
Pros
- Compact design
- A dozen free sandpapers added
- Powerful 3-amp motor delivering up to 13000 OPM
- Rubberized grip for low hand impact
- Small enough to fit into tight spaces
- Six-speed design with an adjustable speed dial
- All-ball bearing design for reduced noise
Cons
- May require extra pressure from the user for proper sanding
- Cord may feel too short
Should I Sand a New Fence Before Staining or Painting?
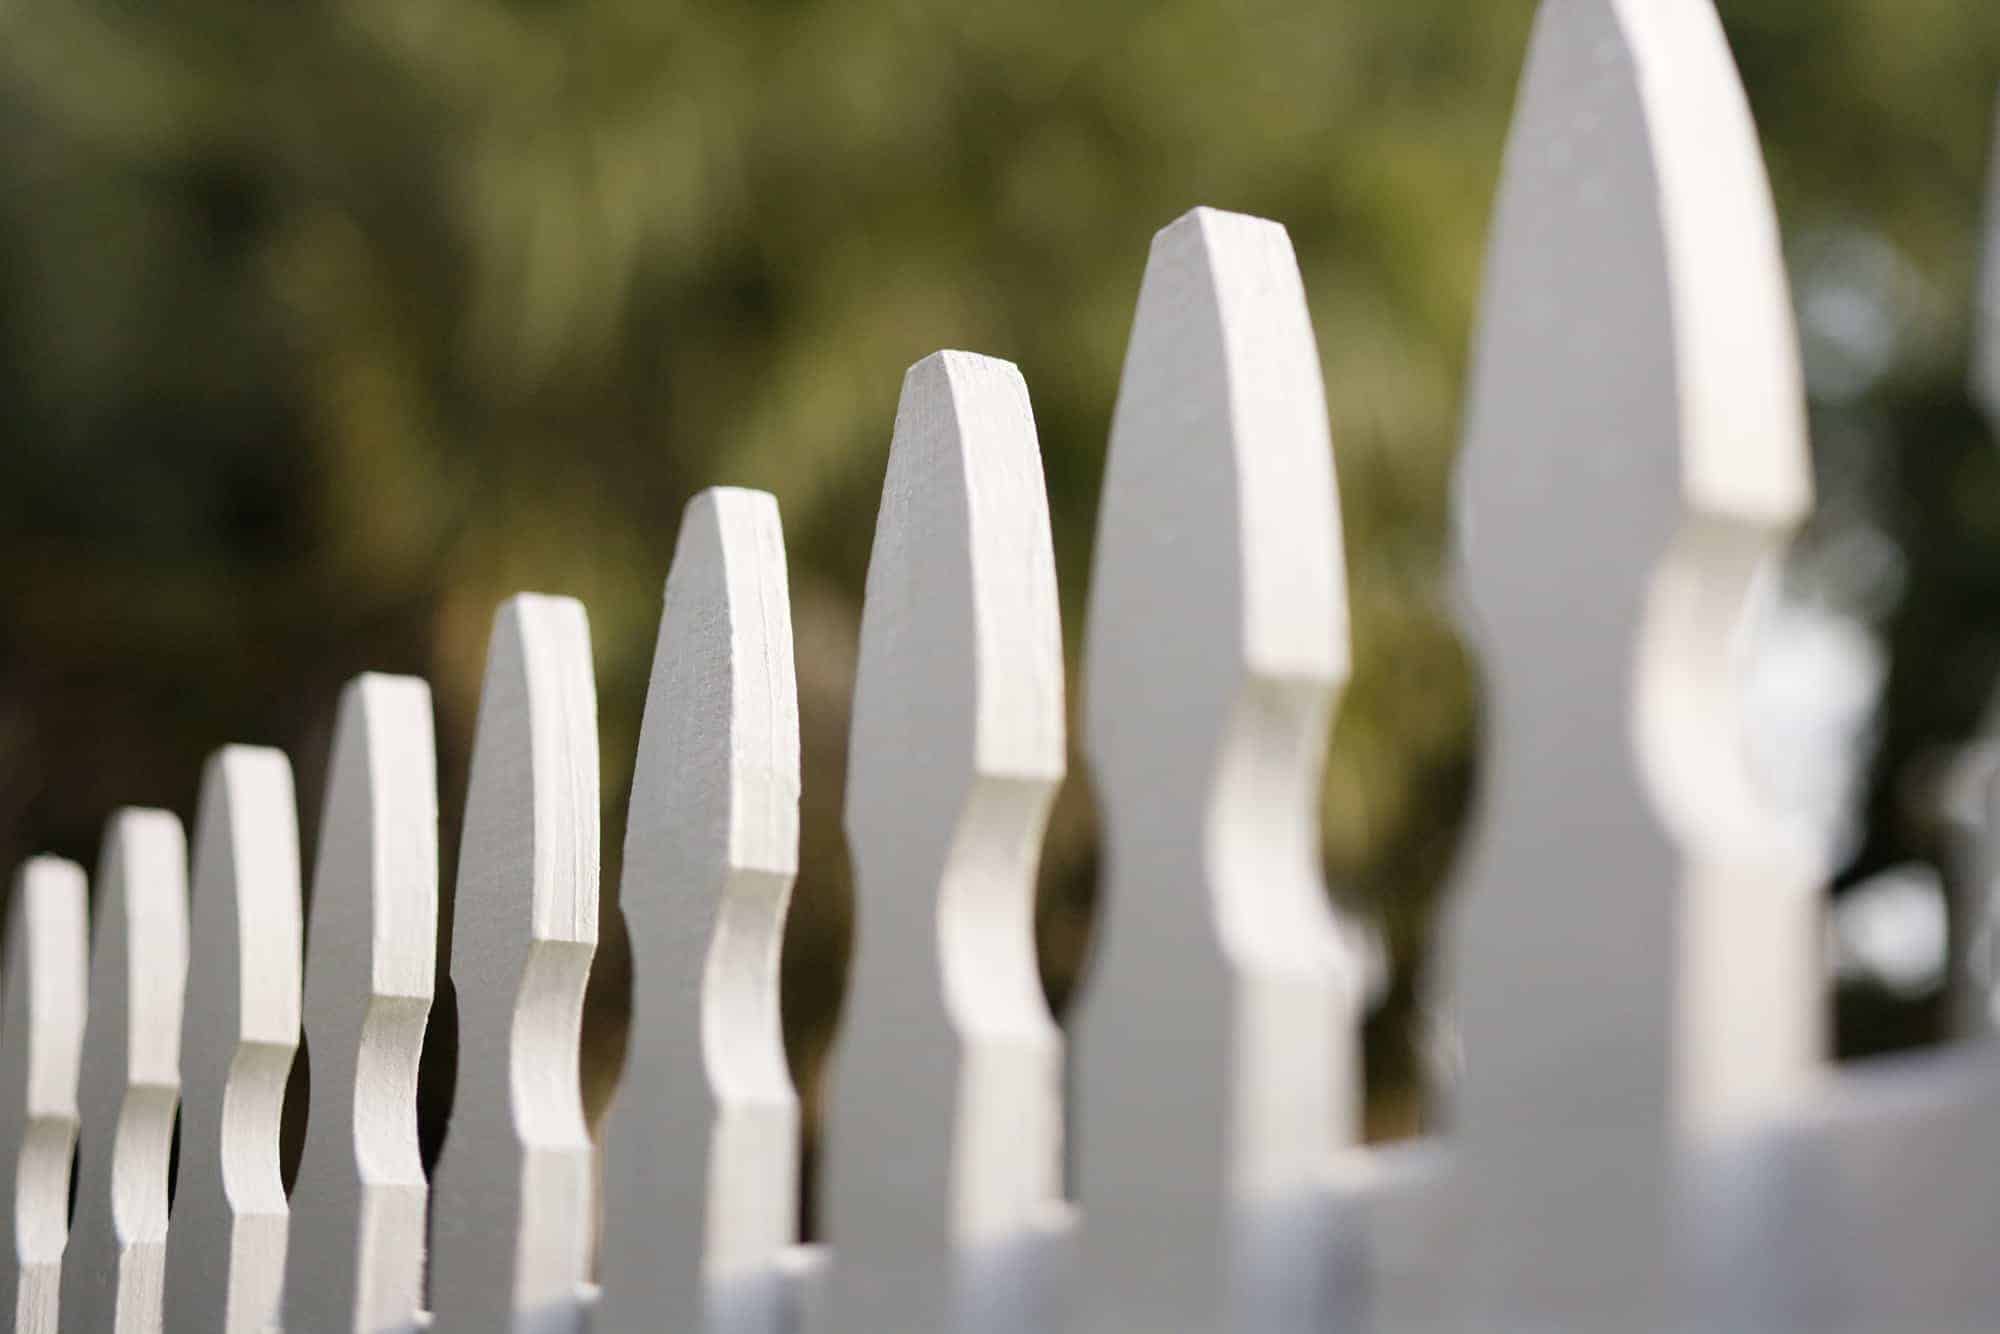
There are a few reasons for installing or refurbishing a picket fence, and the top on the list is to improve the aesthetic appeal of your property.
Sanding makes it easier to achieve this goal because it’s the best way to prepare the surface of the fence to ensure easy adherence for the primer and the paint.
You don’t need to sand a new fence before staining or painting it. However, if you can find some obvious eased edges or portions of the fence where the stain or paint will find it difficult to catch on, sanding is a good idea.
Sanding also gets rid of imperfections and protrusions that will make the final look appear untidy (source: FenceAll). In the case of a metal fence, such imperfections can speed up rust. These are some of the reasons why sanding is important for fence installation.
If your new fence has a water sealant applied to it, you’ll have to lightly sand it in the direction of the grain before staining. To find out if your new fence has this type of sealant, spray a small part of the fence with water, and check to see if the water soaks or beads into the wood (source: Rustic Fence).
If the new fence is made of previously stained, painted, or varnished wood or metal, you have to get rid of the old finish before applying a new coat of wood stain. Sanding can get the job done here.
You can also use a finish stripper and a stiff brush depending on the depth of the old stain, varnish, or paint.

How Do You Sand Cedar Wood Fence Pickets?
You have to exercise some caution when sanding cedar wood fence pickets because cedar is soft.
You should only sand this type of fence if there are deep scratches, planer marks, and gouges on the surface.
Some experts will encourage sanding this type of wood fence by hand due to the fragility, but any of the sanders recommended on this page fitted with 100-grit sandpaper can also get the job done.
Below are steps to take when sanding cedar wood fence pickets:
For Painted Cedar Wood Fences
- Get an orbital sander – my top three are already listed in this article.
- Fit the machine with a medium-grit sanding disk.
- Hold the sander tightly and turn it on.
- Move the sanding pad lightly across the surface of the individual fence boards in an up/down motion.
- Sand the edges of the fence boards where the orbital sander won’t fit using folded sandpaper or a sanding block.
For Stained, New, or Bare Cedar Wood Fences
You can also use a sander on a bare, stained, or new cedar wood fence. Such fences will need some light sanding every couple of years (or as soon as they start to look old).
Applying a sealer after the sanding will keep the fence looking great. Here’s what you should do during the sanding process:
- Turn on the sander and position the pad lightly on the surface of the wood.
- Move the sander in the direction of the wood grain while maintaining a light touch.
- Sand the top of the pickets and the areas between the boars with your folded sandpaper.
Remember to maintain a very light touch throughout the process of sanding your cedar wood fence to keep gouges from developing.
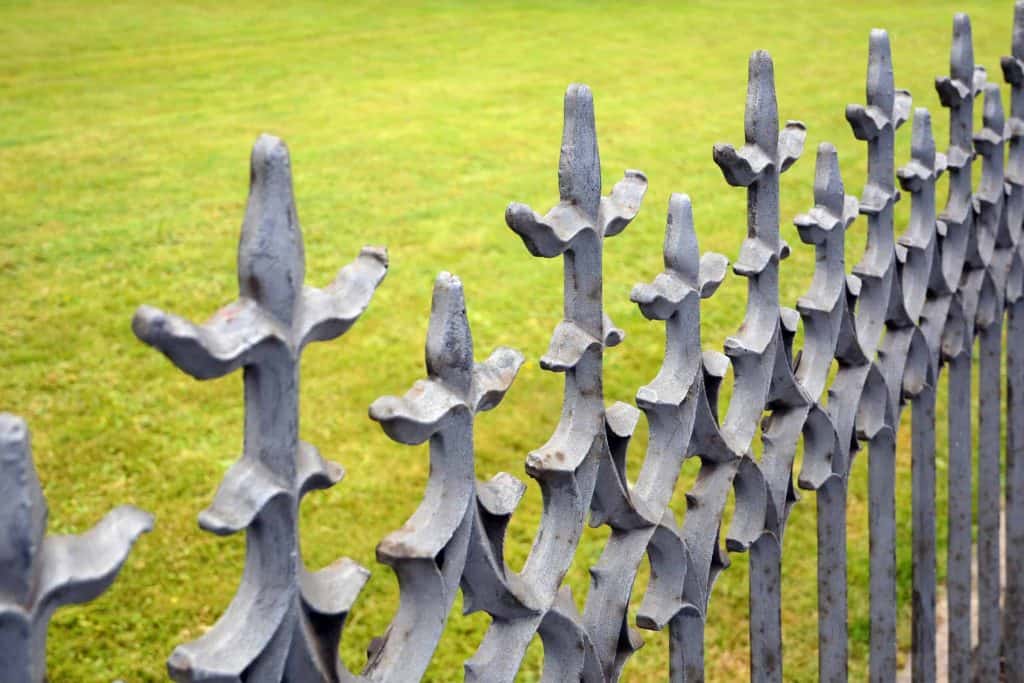
How Should I Sand a Cast Iron or Wrought Iron Fence?
Iron fences are common in older homes. They are typically painted dark colors and feature intricate decorations that make the iron fence harder to sand than similar wood structures.
When sanding iron fences, you have to work quickly, focusing on one small area at a time. Leaving the exposed and untreated iron for long allows rust to set in quickly.
Sanding Flat Iron Fence Pieces
Choose a section of the fence to start working from. You can choose a section covering 2-3 feet if the fence has a plain design.
If the fence has lots of designs, you should focus on one foot per time. If in doubt, start as small as possible and increase the work area if you complete the chosen section quickly.
Sanding Ornate Sections in Iron Fences
Sanding off rust and old paint in the ornate section of iron fences is a tad challenging, requiring the use of several sanding heads.
To get the job done, choose the sanding head that best matches the ornate shape you’re working on. Sand all design elements that are similar to reduce the number of times you have to change your sanding heads (source: LaHabra Fence).
Once you’ve completed the sanding process, you can proceed to the next stages of refurbishing the iron fence, which will include brushing away flakes, completing any repairs, and applying primer and paint.
Brushing Off Flakes
Use a wire brush to get rid of the flakes that will form in curved areas, contours and corners. A brass or steel wool will work great for this purpose.
Before brushing, ensure you have protective gear on. The sander’s dust collector may have trapped debris from the earlier sanding, but the debris from the brushing here will get dispersed in the air.
You need safety goggles and a mask—especially for an old iron fence that may have been covered in lead-based paint.
Repairs and Painting
If you find holes anywhere on the iron fence, you should fill it up using metal filling products. Wait for the product to dry after application, and sand the area again to smoothen and blend it into the rest of the surface.
With repairs done, it’s time to paint the fence with a primer that can inhibit rust. Using the right product will seal the metal and prevent rust from wearing it down.
Think of the primer as a base coat that will keep the metal protected from corrosion and moisture. You should apply multiple layers of primer before coating the fence posts with paint.
I hope this advice helps you in making your fence look great, without having to replace it.