Table of Contents
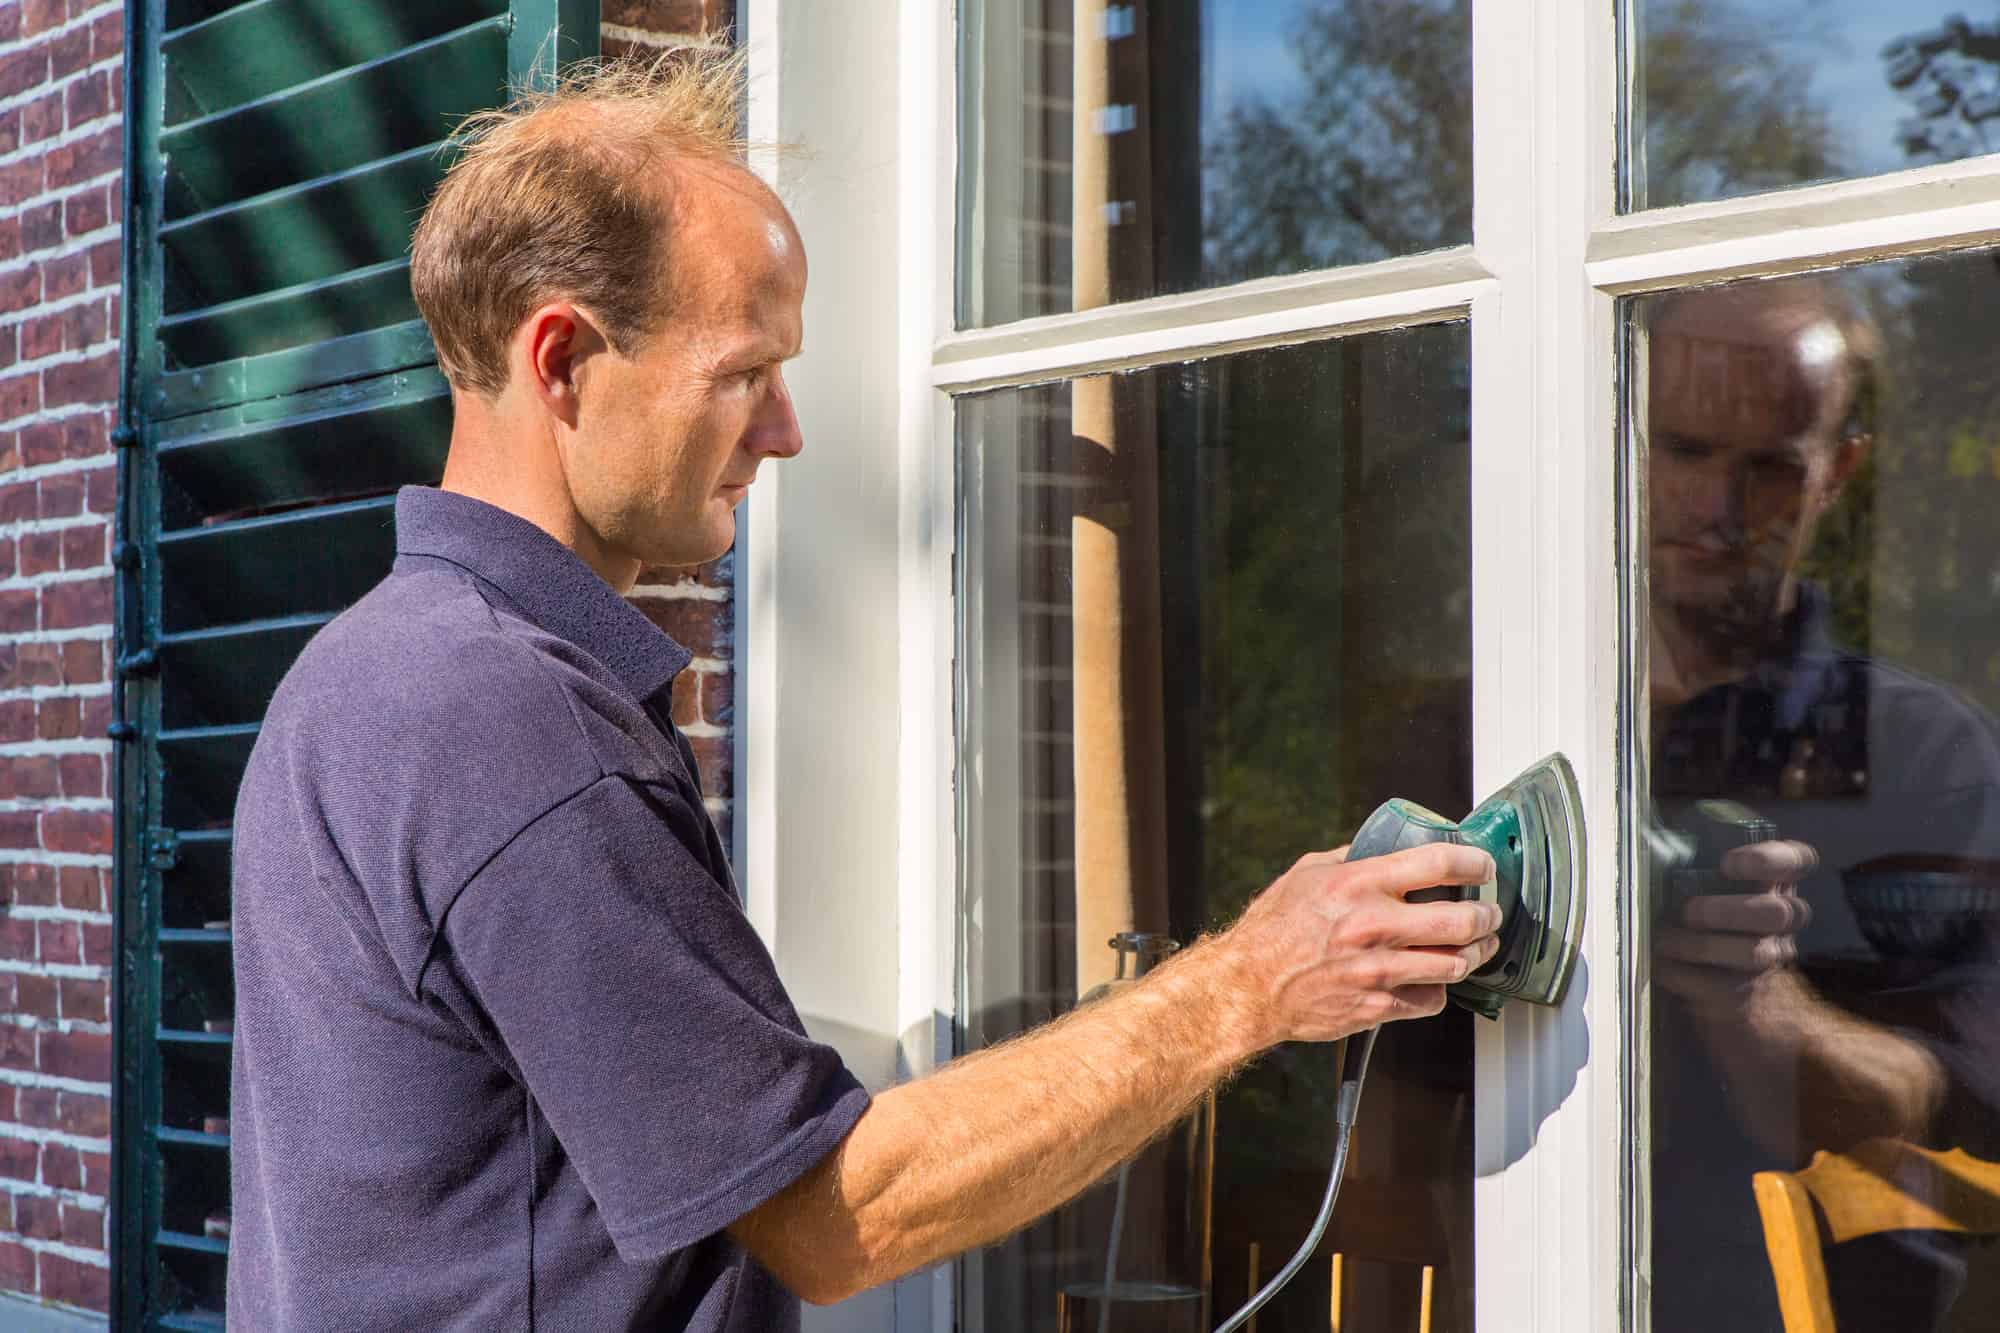
When refurbishing your interior or exterior windows (or installing new ones), sanding the trims and frames is an important part of the project.
A properly sanded surface increases your chances of getting that perfectly smooth finish. However, sanding by hand is no longer the most efficient way to handle the job. You need a sander designed for this purpose.
The three best sanders for your window frames and trims include the Black & Decker BDEMS600 Mouse Detail Sander, the SKIL SR232301 Detail Sander, and the TACKLIFE PMS01A Mouse Sander. The Black & Decker sander is the pick of the bunch as it is powerful, lightweight, and compact.
In this article, we’ll look at all three in a bit more detail, covering everything you need to know about them, so you can easily choose which one works best for your specific project.
Best Sander for All Window Frames
Black & Decker BDEMS600 Mouse Detail Sander

Whether you’re refinishing sash windows or working on old or new window frames, the Black & Decker BDEMS600 Mouse Detail Sander handles everything thrown at it easily, thanks to the 1.2 amp electric motor with top speeds reaching 14,000 OPM (source: Amazon).
The sander’s lightweight and compact design makes it a good fit for most window frame projects, even when working in really tight spaces. The handle features an ergonomic design with a rubber coating that gives you a comfortable and firm grip as you work with the sander.
You also don’t have to worry about splinters if you’re working on lots of windows because the rubber coating absorbs the bulk of the vibrations. Between the handle’s design (which gives you three positions for gripping the sander) and your work gloves, the window sanding process is almost guaranteed to be comfortable.
There’s a finger attachment on this sander that comes in handy when you need to sand the window’s tightest corners. In combination with the sander’s pointed tip, you can be sure of reaching corners of the window that would be harder with some other products.
The Black & Decker BDEMS600 Mouse Detail Sander makes the sanding process less messy with the efficient dust collection box fitted with a micro-filter.
If you’re working on multiple windows, however, you should be prepared to empty the box multiple times as it is small (compatible with the rest of the sander), and the design doesn’t allow connection to a vacuum machine. You’ll also need to protect your ears as it can get really loud.
You get a two-year limited warranty on this product, so it’s a good investment that you’d love in other applications outside of window projects.
Pros
- It comes with a 1.2 AMP motor that can deliver up to 14000 OPM speed.
- The handle is designed with maximum comfort in mind.
- There’s a dust collection box and a micro-filtration system.
- The compact design can reach all kinds of regressed corners.
Cons
- There’s no adjustable speed.
- It may be hard to control for people new to detail sanders.
Best Sander for Window Trim
SKIL Corded Multi-Function Detail Sander

Are you looking for a sander that will simplify your window trim sanding project? The SKIL SR232301 Detail Sander should be high on your list. The lightweight frame and the overall design mean you can count on it to work well on any window trim project.
It comes with a 1.2 amp electric-powered motor which produces 13,500 OPM. You’ll have all the power you need to sand any window trim, including those made of hardwood. The shape of the sander allows it to reach edges and corners without sanding off wall paint.
The manufacturers do their bit to make the process easier by including interesting additions in the box. You’ll get 12 pieces of sanding paper and three detail attachments. Changing the sandpapers as they wear down is also easy as the product features hook-and-loop technology.
The SKIL SR232301 Detail Sander also handles dust collection as efficiently as other products in this category. However, it also has the same problems plaguing most of them—a dust collection box that is too small for anything more than hobbyist sanding.
Fortunately, manufacturers have accounted for more serious use by including a port that accepts vacuum attachments.
During the sanding process, you won’t have to worry about vibrations and palm discomfort. The handle’s design is comfortable, even though it looks different compared to other options in the market. It’s coated with thick rubber (source: Amazon).
One main sticking point with this detail sander is that SKIL has designed it to only work with their sandpapers. You won’t be able to use it with that detailed sandpaper you’ve got in your garage now.
Pros
- The powerful 1.2 amp motor delivers speeds of up to 13,500 OPM.
- Free attachments and sanding paper are included in the box.
- The dust collection box can be detached to connect a vacuum.
- The design is lightweight and allows comfortable window trim sanding for long hours.
Cons
- You can only use SKIL sandpapers.
Best Sander for Wooden Window Frames
TACKLIFE PMS01A Mouse Detail Sander

Nicely finished wooden window frames will improve the overall appeal of any home.
The TACKLIFE PMS01A Mouse Detail Sander is one of the best tools for the project’s sanding stage. It’s one of the few detail sanders you can always count on to tick the right boxes on most projects. Its compact and lightweight nature can be deceptive (Source: Amazon).
The small body holds an efficient 1.1 amp motor capable of delivering speeds of up to 12,000 OPM. When combined with the 2mm pendulum, the result is a highly efficient sander that can help transform your wooden window frames.
The lightweight nature of this tool helps to simplify the window frame sanding process. You won’t have to worry about arm strain. You can reach the corners of the frame easily, thanks to the triangular-shaped tip.
The small handle fits nicely in your palm regardless of whether you have a big or regular-sized hand. The handle has a rubber coating, as you’d expect, to minimize vibrations. The 10ft power cord gives you more freedom when working.
Like the other sanders in this category, the TACKLIFE PMS01A Mouse Detail Sander has a small dust container that does an excellent job collecting the dust while you work. The box is small, so you’ll need to connect it to a vacuum if you’re working on multiple window frames.
You’ll get some freebies if you choose this sander as the company throws 12 sandpapers of different grits.
Pros
- It has a sturdy design.
- The shape simplifies the working corners of wooden window frames.
- The combination of a 1.1 amp motor and a 2mm pendulum is efficient.
- It can be connected to a vacuum.
Cons
- The dust collection box included is too small.

Can You Sand Window Glazing Putty?
Sanding window glazing putty is a good idea if you want to get the smoothest possible finish on the project. You can use a sanding block or a detail sander for the job. However, you need to use fine-grit sandpaper to ensure you won’t sand off the putty completely.
The coarse paper will scrape off too much putty, requiring a reapplication. For the best results, use 220-grit sandpaper when working on window glazing putty (Source: Expandus Ceramics). Once the sanding is done, wait for 24-hours before priming and painting.

Do You Have to Sand the Window Trim Before Painting?
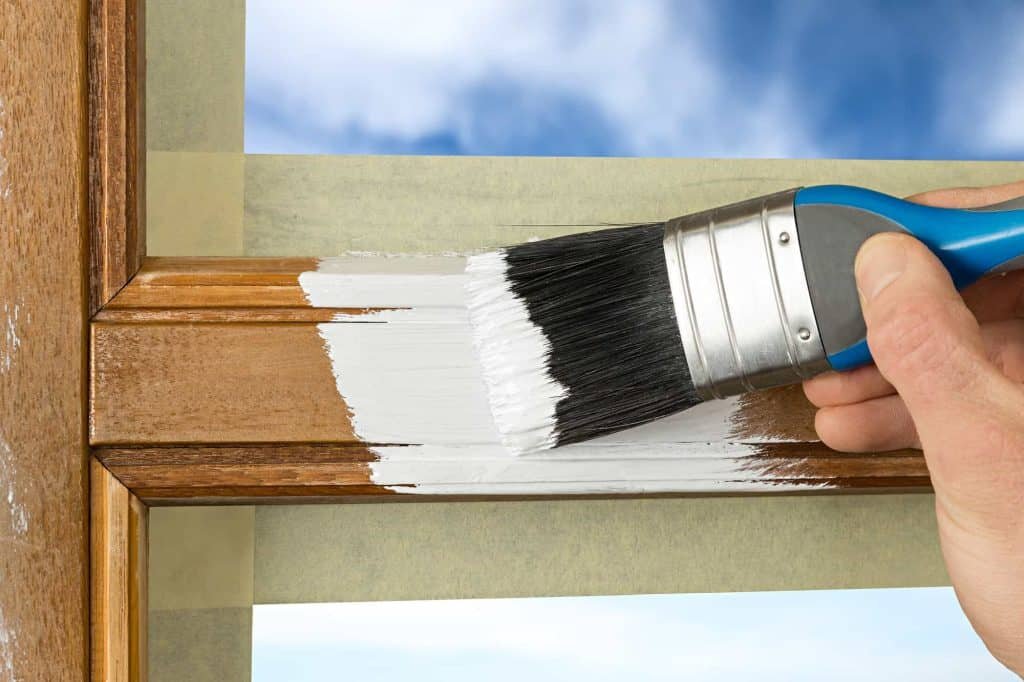
Yes, it’s good to sand a window trim before painting. This increases the chances of getting a smooth finish at the end of the project. Ideally, you should apply multiple coats of paint, sanding between each coat to hide any underlying color or sheen on the window trim (source: Family Handyman).
Painting your window trim without sanding the surface as smoothly as possible will likely give you a grainy texture. As you sand the trim, you should use fine-grit sandpaper when working on the main parts of the trim.
You should consider using a sanding sponge manually for corners and crevices you can’t reach with your detail sander. It’s best to apply even pressure when working with the sponge.
Don’t forget to let the first coat of paint dry for at least 24 hours before sanding again and applying a second coat. Vacuum the trim after each sanding stage, and wipe it down thoroughly using a tack cloth to get rid of dust.


