


If you are preparing to paint one or more ceilings in your home or office, you probably wonder if there is a “correct” way to paint a ceiling surface. Does the direction matter? The answer is that it does, and here’s why:
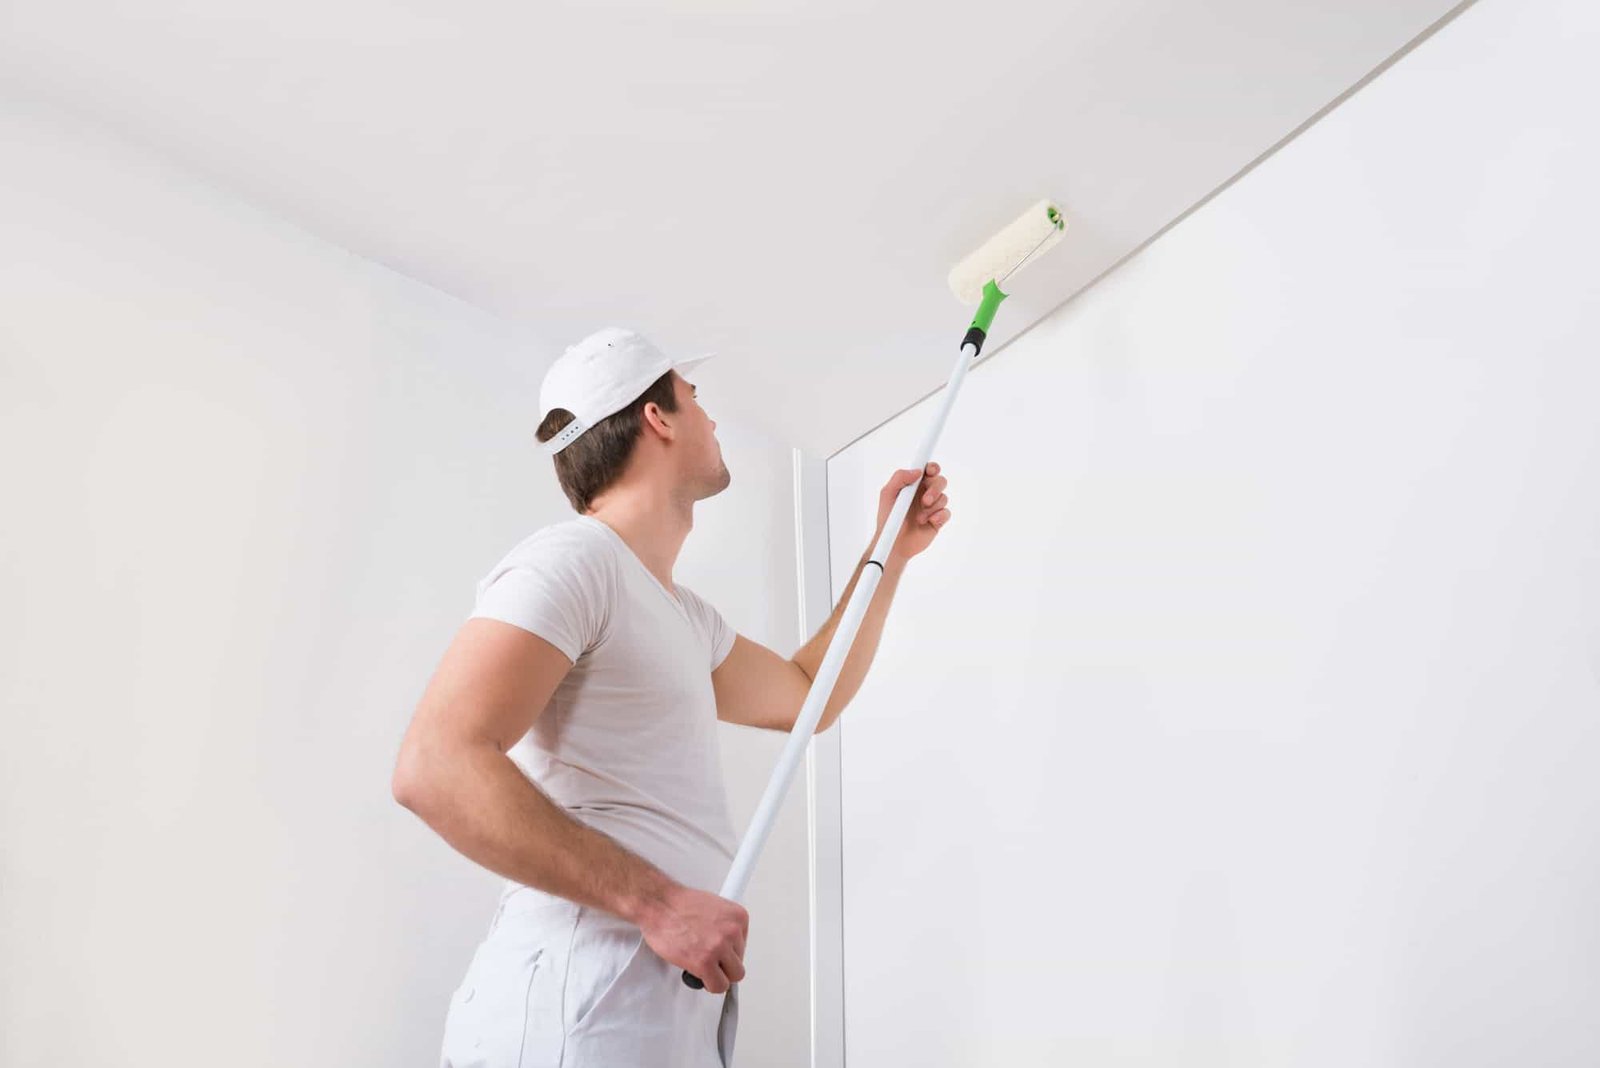
The proper direction to paint a ceiling with a roller is parallel to the window that emits the most natural light. You can use a paintbrush to handle the ceiling edges and corners where you will paint a four-inch (101 mm) swath from the edge toward the ceiling center.
While you might be surprised that direction does matter when painting the ceiling, the truth is following the recommended pattern will yield the best paint finish.
Once you know where to start and how the proper direction impacts the final look, you can get a professional finish on your ceiling. Keep reading to learn how to paint this area with a roller and with a brush.
Which Direction Should I Roller a Ceiling?
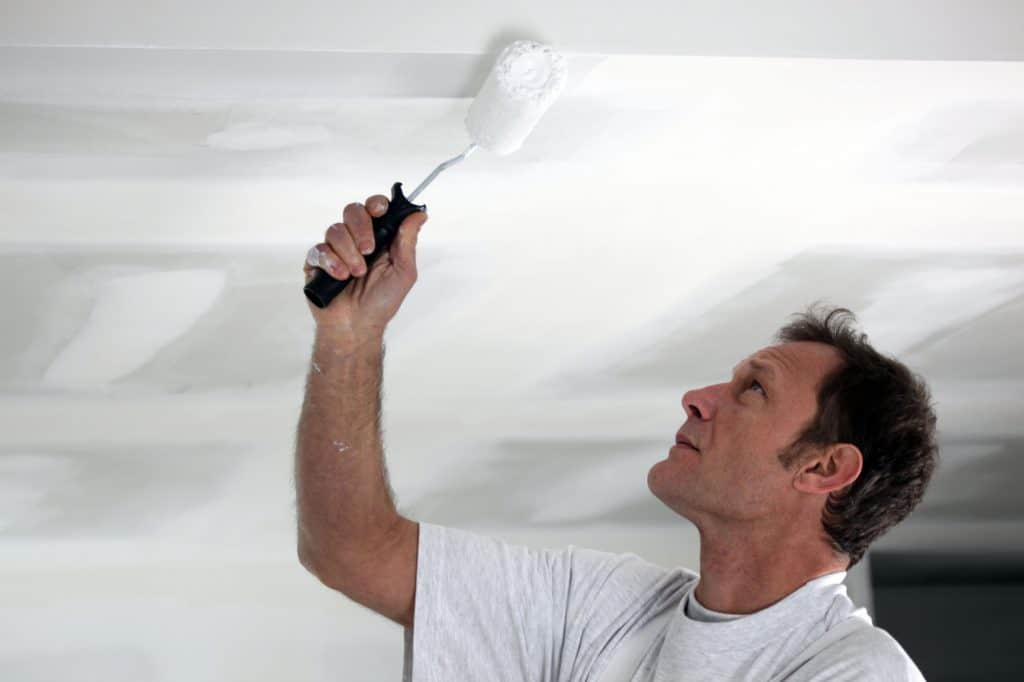
When you want to paint the ceiling like a professional painter, aim to roll the ceiling parallel to the part of the room where the most natural light enters. This direction will make a positive difference in the final outcome by minimizing the appearance of roller lines.
Using proper roller application techniques, you can accomplish the paint job faster and smoother, without any roller marks. Something else to consider before painting is the quality of your materials. Investing in high-quality paint rollers and paint will ensure a better final finish for your ceiling application.
However, not all rollers are made for every surface. The thickness of the roller, the width, and other factors will play a part in proper paint rolling. For painting ceilings, many professionals recommend a ⅜” (9.5 mm) nap roller in an 18” (457 mm) width (source: Glidden).
Do You Paint Ceilings Parallel or Perpendicular to the Window?
While some people would say to paint in a “W’ pattern, most painters would recommend painting the ceiling in a parallel line to the window with the most natural light. This pattern prevents any faint shadows from the roller that may show up on the ceiling.
Painting ceilings can be tricky. You should aim for consistency in the painting direction (source: How To Paint A House Right).
Professional painters focus on two things when painting a ceiling with a roller. While they want to get the job done as quickly as possible, they want to end with a great final result.
After they cut in the edges of the ceiling, the following are the two details they focus on when rolling the ceiling. Here is a two-step process for painting the ceiling for excellent results (source: Youtube):
- Think about where the most natural light in the room is entering. If the fixture is coming predominantly from a southern window, you will want to paint the ceiling parallel to the light.
Otherwise, you might be able to see roller line shadows on the ceiling. You want people coming into the room from a doorway never to see paint lines on the ceiling coming toward them. - Roll the ceiling in equal parts. Many painters divide a ceiling into three or four sections. They roll the entire surface section in the proper direction for the natural light and doorway.
When that section is done, they move to the next one when that section is done until the whole ceiling is done.
Which Direction Should I Paint a Ceiling With a Paintbrush?
Painting the ceiling with a paintbrush generally limits you to the edges and corners where the ceiling meets the walls. When painting the same color on the ceiling as the walls, you should use the paintbrush to paint an approximately four-inch (101 mm) swath along the ceiling edges.
Painting an entire ceiling with a paintbrush would be pretty labor-intensive. Most people use a paintbrush to handle the corners and other tight areas where the ceiling and walls meet.
While you could paint a small ceiling with a paintbrush, using an 18” (457 mm) width roller makes the job go much faster and with better coverage (source: My Wall Works).
Using a paintbrush to cover the nooks and crannies of the ceiling has some significant benefits.
- Paintbrushes come in a wide array of sizes to fit any space. You can use a small, angled brush to provide excellent coverage in the ceiling corners.
- Paintbrushes are flexible enough to reach the tightest spots. Some areas of the ceiling, like the corners and around HVAC vents, will benefit from a flexible paintbrush.
- Choose a good quality paintbrush for the best results. All paintbrushes are not equal. The less expensive type which comes in a two or three-pack, will leave visible brush stroke marks on the ceiling.
Instead, choose a good quality brush and clean it well after each use so you can paint with it repeatedly.

The direction you paint should run parallel to the wall directly below the ceiling edge. When your wall color is the same as the ceiling, also paint down onto the wall one to two inches (2.54 to 5.08 cm). Once the ceiling is “cut in” four inches (10.16 cm), you will finish the ceiling using a roller.
When Painting a Ceiling, Where Should You Start?
You should start painting a ceiling in one corner of the room after visually dividing the ceiling into four quadrants. Paint the first quadrant so it is parallel to the natural light source from the window. Finish the entire quadrant before moving to the next one.
Painting in sections allows you to keep the paint wet to minimize any visible lines. Be sure to roll in straight lines for the whole section. Finish each ceiling section before moving to the next one.
Painting the ceiling first often makes painting the rest of a room more accessible. When you want to have a ceiling that looks great in natural and artificial light, following the right direction will give your ceiling a fresh, clean, uniform surface.