


Table of Contents
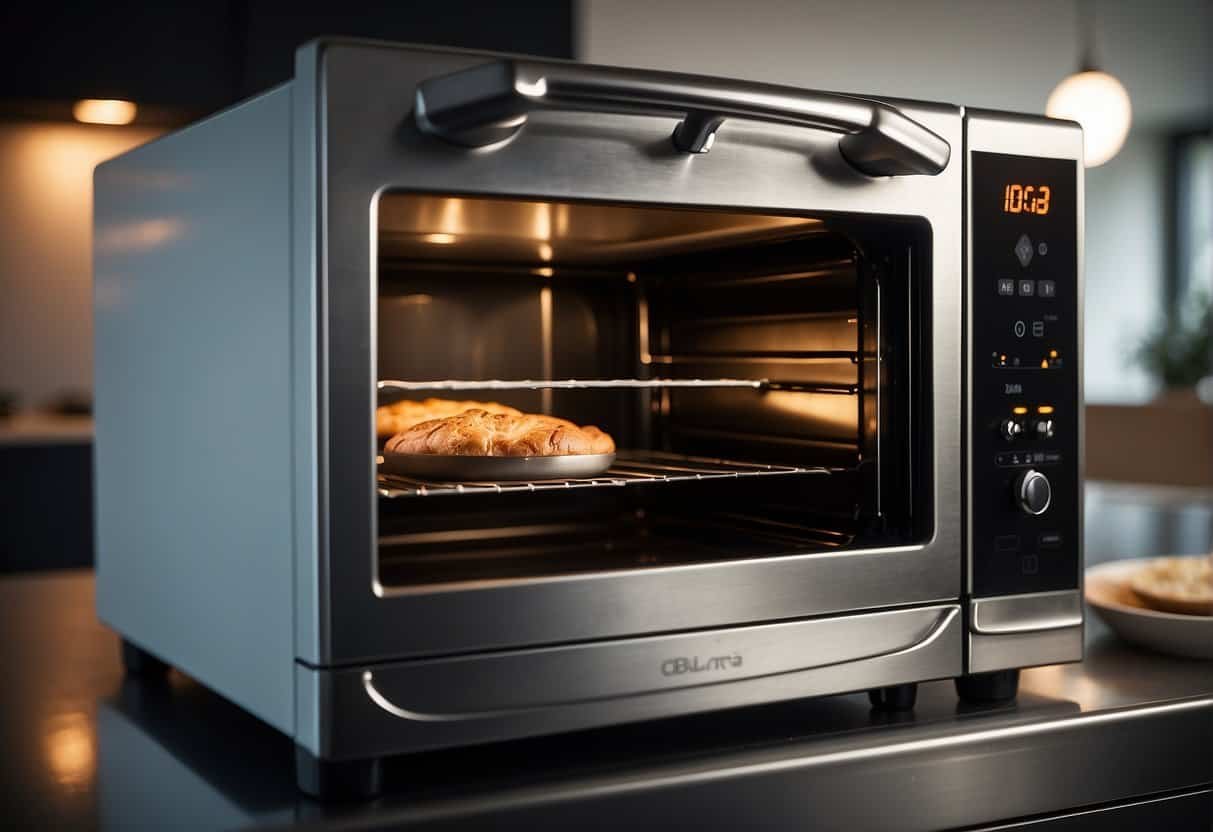
Cleaning a self-cleaning oven by hand might seem counterintuitive, but there are occasions when it’s necessary.
Though self-cleaning ovens boast a feature where they use high temperatures to burn off food residue and spills, sometimes a more thorough cleaning is required, or perhaps the self-cleaning function isn’t operative.
In my home, sometimes I prefer to take matters into my own hands to ensure my oven is as clean as I want it to be.

When approaching this task, I usually start by preparing my oven. I remove the racks and anything else that’s inside because they often require separate cleaning. After that, I focus on creating a cleaning mixture suitable for the job.
In my experience, a paste made from baking soda and water is non-toxic, readily available, and effective for tackling the grime inside an oven.
It’s also important to wear gloves and ensure proper ventilation in the kitchen during the cleaning process to safeguard against irritation from any grime or product used.
Applying the mixture inside the oven, I give particular attention to areas with significant build-up. After letting it sit for a while to break down the grease and burnt-on food, I use a damp cloth or sponge to wipe the oven clean.
I have found these steps for cleaning a self-cleaning oven manually very helpful in ensuring my oven is thoroughly cleaned without damaging its self-cleaning properties.
With patience and the right technique, my oven is restored to a condition that’s pleasing within my home, ready for my next culinary venture.
Why You Might Manually Clean a Self-Cleaning Oven: Risks and Precautions
While the self-clean feature can be incredibly convenient, it doesn’t come without its risks and necessary precautions:
- Health: Exposure to extremely high temperatures can release fumes from burnt food or oven cleaners that might be present. I must ensure to ventilate the area to minimize these fumes.
- Fire Hazard: On rare occasions, excessive food buildup may pose a fire risk during the cleaning cycle. That’s why I always recommend removing large pieces of debris before starting the self-clean cycle.
- Toxicity to Birds: The fumes generated can be toxic to birds, so if I have any feathered pets, I make sure to keep them in a well-ventilated space far away from the kitchen.
By understanding both the functions of the self-clean feature and the necessary precautions, I can use it safely and effectively.
How to Manually Clean a Self-Cleaning Oven
When cleaning a self-cleaning oven manually, I focus on removing built-up grease and grime without damaging the appliance. I do this in a systematic way, starting with preparation, moving on to the cleaning procedure, and finishing with proper aftercare.
Preparing the Oven for Cleaning
Before I begin the actual cleaning process, I ensure the oven is cool and powered off. I then remove the oven racks to clean them separately. It’s crucial to clear out any loose debris inside the oven as well, using either a handheld vacuum or a damp microfiber cloth.
The Cleaning Procedure
For the manual cleaning, I create a homemade cleaning solution by mixing baking soda with water to form a paste. Adding a little vinegar or lemon juice can enhance the mixture’s grease-cutting power.
I apply the paste liberally to the interior surfaces, avoiding the heating elements, and let it sit for at least 15 minutes. After the time has elapsed, I use a microfiber cloth or a soft sponge and a bit of elbow grease to scrub away the detritus.
Stubborn spots may require additional scrubbing and solution application.
Aftercare and Maintenance
Once the oven is clean, I wipe down all surfaces with a damp cloth to remove any residual cleaner. Regular maintenance, such as wiping spills promptly and performing occasional manual cleans, will extend the life of my self-cleaning oven and keep it functioning efficiently.
Cleaning Specific Parts of the Oven

When cleaning a self-cleaning oven by hand, it is imperative to address specific parts like the racks, oven glass, and vents to ensure thorough maintenance and performance. Each area requires a particular approach to remove gunk and debris effectively.
Oven Racks and Cookware
Oven Racks: I remove the racks and soak them in hot, soapy water to loosen the grime. Using a scrubbing brush, I tackle any stubborn residue, then rinse thoroughly and dry before replacing them.
For cookware, I employ a similar method, ensuring that all food deposits are scrubbed off and the items are rinsed well.
Oven Interior and Glass
Oven Interior: My approach to the oven interior is careful to not damage any coatings. I create a paste with baking soda and water, apply it to the interior surfaces, and let it sit. After a while, I’ll use a spatula to gently remove the paste, which carries the gunk along with it.
Oven Glass: Cleaning the oven glass involves a non-abrasive cleaner that’s safe for glass surfaces. I spray the cleaner onto the glass, let it sit to break down food splatters, and then wipe it clean with a soft cloth, ensuring I do not scratch the surface.
Oven Vents and Frame
Oven Vents: I pay special attention to the vents as blockages can affect the oven’s functionality. Using a small brush, I carefully remove any debris accumulated within the vents.
Frame and Stovetop: For the frame, I use a damp cloth dipped in a gentle cleaning solution to wipe down the area, making sure to reach the corners where grease may build up. If my oven includes a stovetop, I lift the elements and wipe underneath, removing crumbs and spills.
Best Practices and Tips

To maintain my self-cleaning oven and ensure it functions effectively, I adhere to certain best practices and tips. From selecting suitable cleaners to establishing a cleaning schedule and ensuring proper ventilation, each step is crucial for the longevity and hygiene of my oven.
Selecting the Appropriate Cleaners
For manual cleaning, it’s essential to choose the right oven cleaners that are compatible with self-cleaning ovens. Harsh chemicals can damage the interior surfaces.
Instead, I prefer using a mixture of baking soda and water to create a non-toxic paste or gentle detergents specifically designed for ovens. This protects the oven’s special coating while effectively removing grime.
- Recommended Cleaners:
- Baking Soda Paste: Combine baking soda with water to form a paste.
- Gentle Detergents: Use specialty oven cleaners that are safe for self-cleaning ovens.
Frequency and Timing
I prefer to manually clean my oven when necessary, primarily focusing on light maintenance. If used frequently, a thorough manual cleaning every four to six months complements the oven’s built-in cleaning cycle.
I ensure that I empty the oven before any cleaning procedure to prevent any items from being damaged or causing fumes.
- Cleaning Schedule:
- Light Cleaning: As needed, to address small spills and spots.
- Deep Cleaning: Every four to six months or when heavy soiling occurs.
Ensuring Effective Ventilation
Proper ventilation is crucial during and after the cleaning process. I always start by opening windows to introduce fresh air and facilitate the removal of any fumes or odors.
Using an exhaust fan or range hood can further enhance airflow, ensuring that any volatile compounds have no impact on indoor air quality.
- Ventilation Checklist:
- Open Windows: Begin by opening windows to ensure cross-ventilation.
- Use Exhaust Fan: Turn on any available exhaust fans to actively expel air from the kitchen.