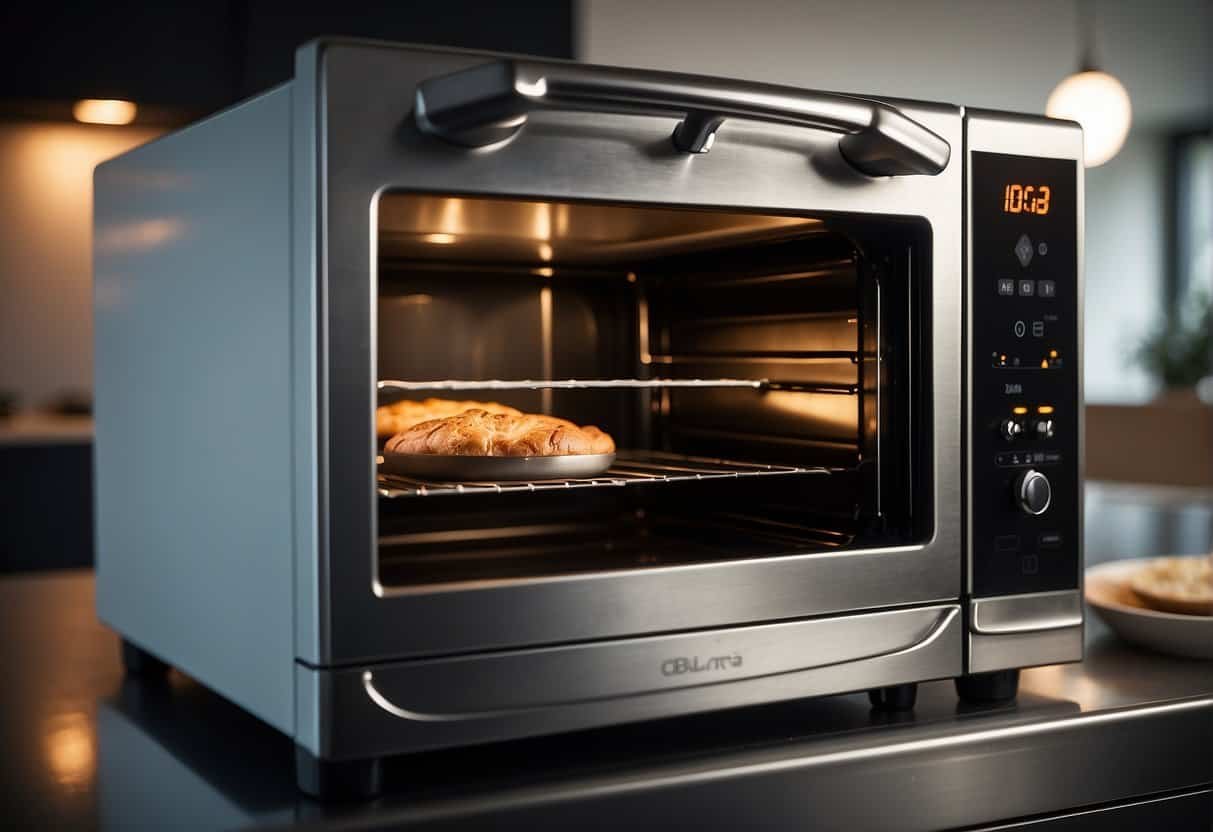
Accidentally melting plastic in a self-cleaning oven can be a daunting mishap to deal with. As someone who appreciates a clean kitchen, I understand the importance of removing melted plastic efficiently while ensuring that I don’t damage the oven’s interior.
Self-cleaning ovens use high temperatures to burn off leftover food and grime, but this function can complicate the removal of plastic because of the fumes and potential for the plastic to adhere further to the surface.
Table of Contents

In my experience, it’s critical to approach this problem with a couple of safety precautions in mind. Before attempting any cleaning, I always make sure the oven is turned off and completely cool to avoid the risk of burns or inhaling harmful fumes.
Wearing protective gloves can provide a barrier between my skin and any chemical cleaning agents or sharp objects used during the process. It’s essential to ventilate the area, as some cleaning methods may release fumes that shouldn’t be inhaled.
Once safety measures are in place, I begin the process of cleaning the melted plastic. While the self-cleaning cycle might seem like a convenient quick fix, it’s not recommended for clearing plastic residue as it could emit toxic fumes and potentially bake the plastic onto the surface even more.
Instead, I opt for manual methods that are safe for my self-cleaning oven and effective at removing the melted material.
Initial Removal of Melted Plastic
When I encounter melted plastic in my oven, the first step is to solidify it for easier removal. This can be achieved through cold application or mechanical scraping. Choosing the right method and tools is crucial to prevent any damage to the oven surface.
Using Cold Methods to Harden Plastic
I start by making the melted plastic brittle so it can be scraped off more effectively. Placing a freezer pack or a bag of ice directly over the affected area for several minutes does the trick. For an oven rack, I sometimes place it in the freezer to chill thoroughly.
Another effective method is to fill a plastic bag with ice and apply it to the plastic residue until it hardens.
Scraping Tools and Techniques
Once the plastic is hardened, I use a plastic scraper or a razor blade held at a 45-degree angle to gently lift the plastic without scratching the oven’s interior. If I don’t have a plastic scraper, a wooden spoon can work as an improvised tool.
For tougher spots, carefully using a razor scraper is sometimes necessary, but utmost caution is needed to avoid damaging the surface.
After the majority of the plastic is removed, a scrubbing pad can help clean up any remaining shreds of plastic. It’s important to always scrape gently and with the right tools to preserve my oven’s integrity.
Cleaning and Neutralizing Toxic Fumes
When I tackle the issue of melted plastic in a self-cleaning oven, my primary concern is addressing toxic fumes and residual smells. Here’s how I approach the cleaning process and neutralize any harmful vapors that may linger.
Natural Solutions for Residual Smells
After ensuring all plastic residue has been removed, I tackle the persistent odors. I’ve learned that baking soda and vinegar are effective in absorbing and neutralizing smells. I spread a mixture of baking soda and water inside the oven and let it sit overnight.
In the morning, I wipe it out with a damp soft cloth. If odors persist, I’ll heat a solution of water and vinegar in the oven, which helps to further deodorize the space.
Baking Soda Method:
- Spread a paste of baking soda and water inside the oven.
- Let it sit overnight.
- Wipe clean with a damp cloth.
Vinegar Steam:
- Heat a pot of water mixed with vinegar in the oven.
- Let the steam circulate to deodorize.
Chemical Cleaners and Their Risks
At times, I may consider commercial oven cleaner for tough jobs, but I remain cautious of the chemicals involved. These cleaners are effective at removing stubborn plastic residue but can also emit toxic fumes that are harmful if inhaled.
I ensure the area is well-ventilated and wear protective gear such as gloves and a mask if I must use these products. Similarly, some oven cleaners require that no residue is left behind, so I follow up with a dish soap and water solution to clean any remnants of the chemical cleaner.
Safe Usage:
- Wear gloves and a mask.
- Clean in a well-ventilated area.
Post-Cleaning:
- Wipe the area with a solution of dish soap and water.
- Use a sponge or soft cloth to remove any chemical traces.
Preventing Future Accidents
To ensure our ovens remain in pristine condition, I adhere to specific practices that prevent incidents like melted plastic from occurring. Let’s discuss how proper use of oven-safe containers and regular upkeep can safeguard our kitchen’s centerpiece.
Correct Usage of Oven-Safe Containers
I always verify that containers labeled as “oven-safe” are indeed meant for the type of heat and cooking method I plan to use. This is crucial since some materials may withstand baking but not broiling.
Glass, for instance, is generally oven-safe, but I check for a “tempered” label to ensure it can handle high heat. For plastic containers, I read the manufacturer’s instructions to confirm if they can be used in the oven and at what temperatures.
- Metal containers usually are a safe bet, as long as there’s no non-stick coating that could degrade under the oven’s intense heat.
- Ceramic dishes are another option; however, poor-quality ceramic may crack, so I ensure it’s high-grade and meant for oven use.
Regular Maintenance and Cleaning Tips
Consistent maintenance is key to preventing accidents. For my oven racks, I remove them periodically for a detailed cleaning. This involves soaking in a cleaning solution made from dish soap and warm water, which breaks down grease and grime without requiring harsh chemicals.
- After each use, I wipe down interior surfaces and the oven door to catch any spills or debris, using a mixture of vinegar and water, which is a natural and effective cleaning agent.
- I inspect the oven door seal regularly since a good seal is essential for the oven to maintain temperature and function safely.
By implementing these strategies, I not only prevent accidents like melting containers, but I also extend the life of my oven and keep it functioning at its best.

