


If your wooden stairs are getting old and you don’t feel good when you look at them, it is time to take some measurable steps. You can solve this problem by sanding stairs with a sander. Not only will it create a fresh new look, but the whole staircase will also get smoother.
The following article provides a simple guideline for sanding wooden stairs, and you can easily apply it with full confidence.
Necessary Equipment To Sand Wood Stairs
- Floor sander (Circular)
- Orbital hand sander
- Sandpaper (60- and 120- grit number)
- Best Stair Sander
- Protective eyewear
- Dust mask
- Vacuum cleaner
Stair Sanding Steps
Below, you will find the proper steps that you need to follow to sand your stairs.
Step 1: Sand the Center of Each Stair
Before you start sanding, wear protective woodwork safety glasses and a dust mask to protect your eyes and lungs from dust.
Attach the 60-grit sandpaper to the circular flood sander. Make sure the sandpaper is properly attached with the wood sander. Start slowly and gently sanding the center of the staircase. Maintain the same process for each stair and avoid bumping into the walls or handrails during this process.
Your main target is the center of this step. After properly sanding the center of each stair, use the vacuum cleaner to clean away all the dust.
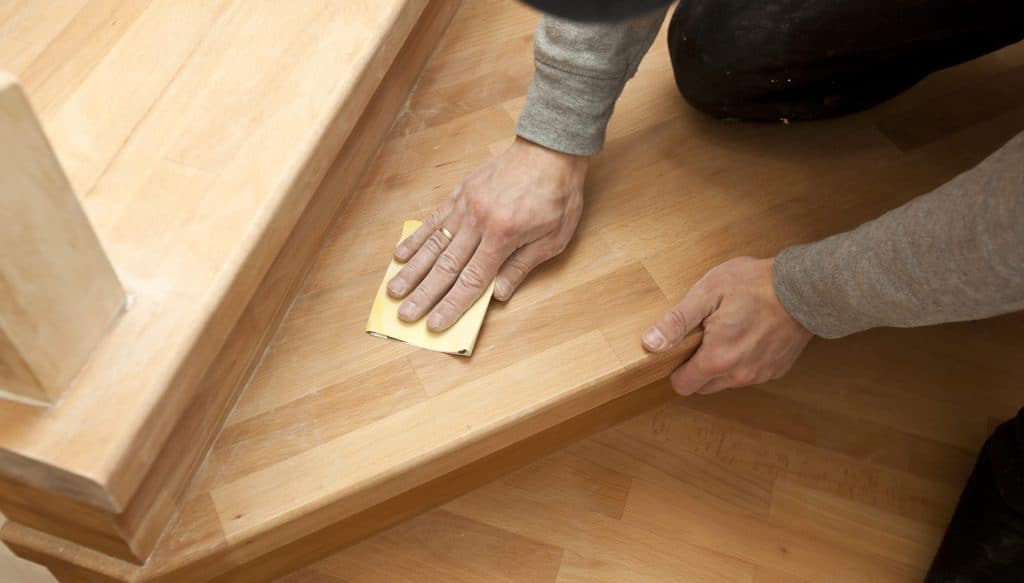
Step 2: Sand the Edges of Each Stair
Replace the floor sander with the orbital hand sander in this step. Continue using 60-grit sandpaper with this new wood sander. Sand the edges of each stair gently as you are gradually rising up. Maintain distance from the walls and handrails during the sanding.
Don’t hit anything by accident or else you will have a hard timing solving this problem. After sanding the edges, clean the dust again with the vacuum cleaner.
Step 3: Give it a Smooth Finish
Replace the 60-grit with 120-grit sandpaper this time. Attach this sandpaper to the circular floor sander and repeat the same sanding technique that was mentioned above (first step). After this process, replace this wood sander with the orbital hand one and follow the method for the stair edges (second step).
The purpose of using 120-grit sandpaper is to smooth the surface of the stairs and give them a fresh and attractive look. If you are left with some dust, vacuum it away.
Some Tips
- To sand the spindles of the handrail, cut the sandpaper in a way that it can wrap around the handrail. Use your hand to sand by moving the sandpaper in the direction of the spindle. Do it slowly to avoid leaving any visible scratches.
- Ventilate the whole room before you start sanding or else the room will turn cloudy with dust and you might feel suffocated.
- Schedule a particular day and time for sanding stairs. In this specific time, keep your family and pets away from the stairs.
- For additional cleaning, use a push broom to clean any hidden dust.
- If you know people who already have done this kind of work, take suggestions from them. They might provide you with some beneficial pros and cons that can help you throughout the work.
Conclusion
If you are a beginner, this process might take a couple of hours to get finished, so be prepared for that. Don’t let this intimidate you. Make it an enjoyable task. You will get a sense of achievement when you get the job done successfully. Cheers to that.
Best of luck!