


Table of Contents
If you’re anything like me, you’re a homeowner who has embraced DIY projects that you used to hire professionals for. Easy-to-use products like Postcrete support this new culture that embraces the use of tools and techniques that can easily be handled by yourself.
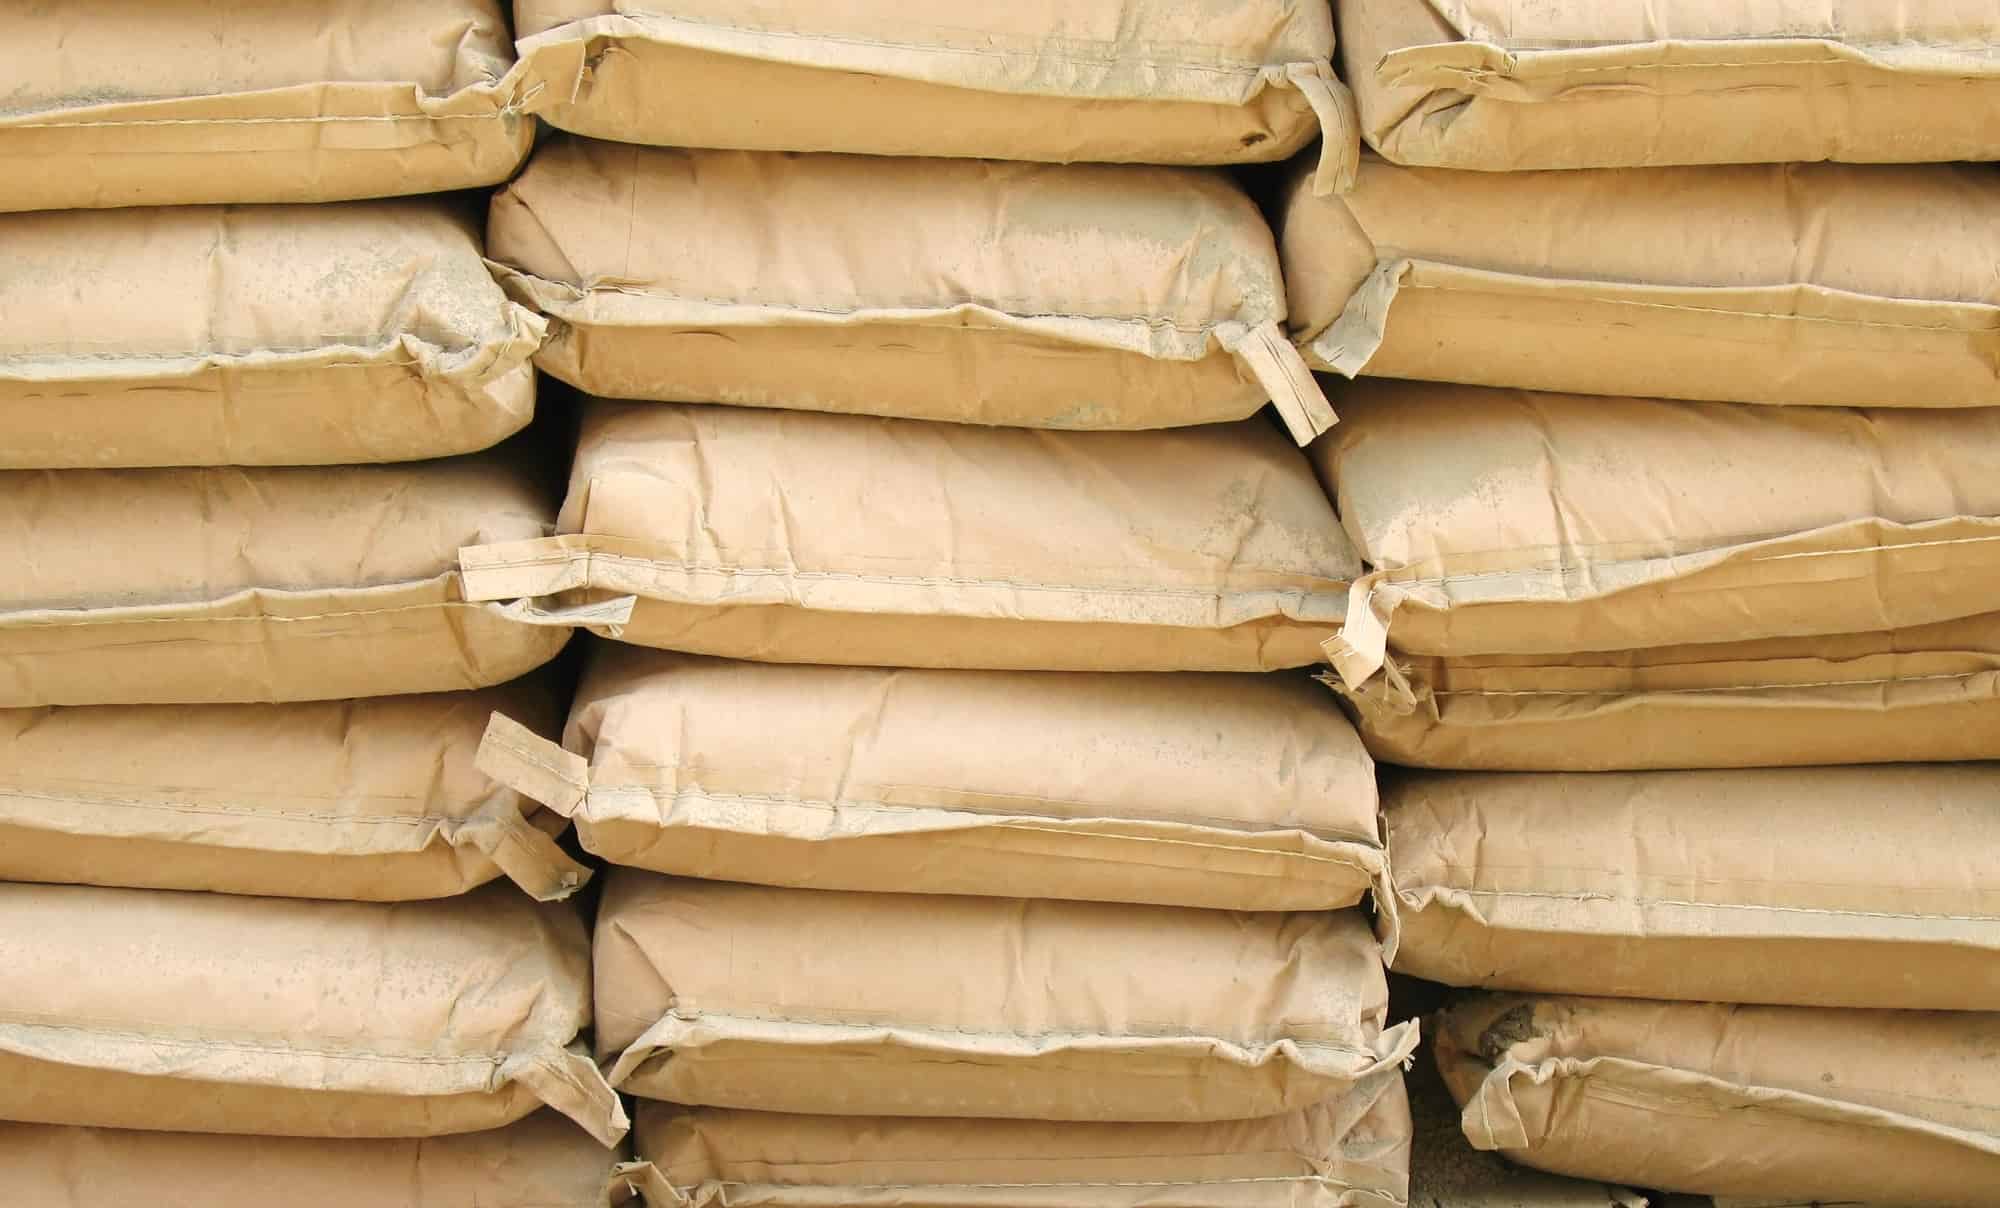
Postcrete is a ready-to-use mixture of cement, sand, and other additives formulated to be used in fixing metal, wooden, and concrete posts. It comes in a handy 20kgs bag (44lbs). Postcrete is very effective as you only need to add water, which will set your post in 10 minutes.
The rest of this article will take you through everything you need to know about Postcrete, including how to use it, whether Postcrete is stronger than concrete, whether you can use Postcrete instead of bricks, and some additional ways you can use the mix.
I also outline the number of bags of Postcrete you need for certain projects and what to do when you’ve added too much water to Postcrete.
What Exactly Is Postcrete?
Postcrete is a compound material used to set posts in the ground; you can use it for fixing wooden, concrete, or metal posts. The compound comprises three components, water, cement, and a combination of sand, rocks, and aggregate gravel.
Postcrete is easy to use as you only need to pour it into some water, and it sets in about 10 minutes. It comes in a 20 kg (44 lb) bag that is very manageable, weatherproof, tear-resistant, and recyclable plastic bag. The minimum working temperature of Postcrete is 3°C or 37.4°F (source: Tarmac UK).

How To Use Postcrete
Postcrete is relatively easy to use; here is a step-by-step guide on how to use Postcrete:
- Dig a hole to the right depth that will fit the size of your post. If you are making a fence, ensure you measure and mark the position you want your posts to be in.
Use a plumb line to ensure they are in a straight line. You should also ensure that the faces of the posts are level. - Place the post in the hole you just dug. Using a plumb line, ensure that the face of the post is flat against it and that it aligns with other posts (if any). In this step, you may need help from another person to ensure the post remains upright.
- Hold the post in place. If you do not have someone to help you hold the post, you can use four timber panels to hold the post on each side. Use a spirit level to confirm that the post is level.
When the post is set correctly, put water into the hole. The water should fill about one-third of the hole. The Postcrete package has a visual illustration to help you out. - Empty the Postcrete evenly into the water around the post until the water is not visible. Ensure the mix covers the water, then sprinkle some water on top of the Postcrete mix.
You may require some help to hold the post in position as mentioned above; use timber panels if you have no one to assist you. - With the help of a spirit level, ensure that the post is upright and well-centered. Adjust the post accordingly if it is not well-positioned. The mix will take approximately 10 minutes to harden enough for you to withdraw the support.
Check the posts using the spirit level periodically to ensure it sets in the proper position. - Cover the top of the mix with soil or grass if need be. This will also help tidy up the place but only do this once you are sure the mix has settled.
- Repeat the process. If you are making a fence, follow the same steps for each post you’re setting up (source: LaFarge).
Postcrete vs. Concrete
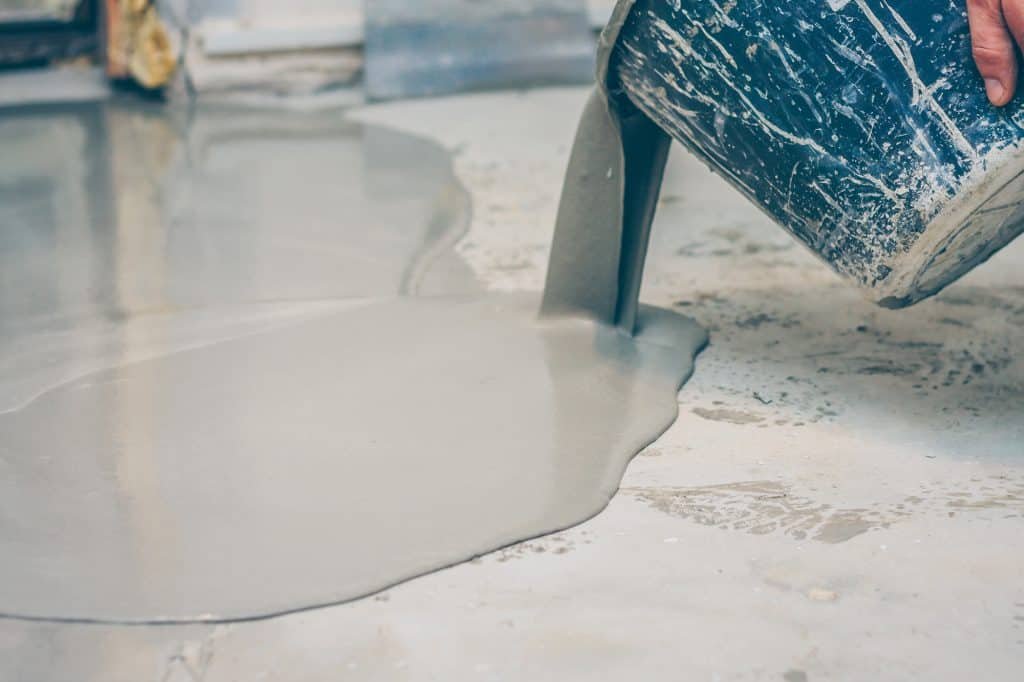
The main difference between Postcrete and concrete is the way you use them. While Postcrete is very easy to use as you only need water and the mix, with concrete you need to mix the materials yourself.
Here are some other differences between Postcrete and concrete:
- Setting time. Depending on the application, concrete can take one to seven days to set completely. Concrete will reach its optimum strength after 28 days. On the other hand, Postcrete will set completely in about 10 minutes.
- Mixing. Postcrete does not require mixing; it is a ready blend of concrete composites. On the other hand, concrete is a compound material containing three components: water, cement, and a combination of sand and aggregate gravel.
You must mix the materials in the correct ratios to determine the concrete’s strength, durability, and workability. You can use a bucket or a concrete mixer for mixing. - Pricing. When working on a small project, you can use Postcrete. However, for bigger projects, concrete will be cheaper to use than Postcrete.
Is Postcrete Stronger Than Concrete?
Postcrete is not stronger than concrete. Unlike concrete, Postcrete does not use a lot of aggregate rocks in its mixture. The concrete mixture has larger aggregate rocks and ballast, giving it more strength than Postcrete.
However, you have to measure out the ingredients of concrete in the correct ratios and ensure you mix them properly to get the best quality concrete for better strength and durability.
Postcrete is appropriate for making small and medium-sized gates, fitting deck posts, and rotary washing lines. It should not be used for general concreting. (source: Britannica)
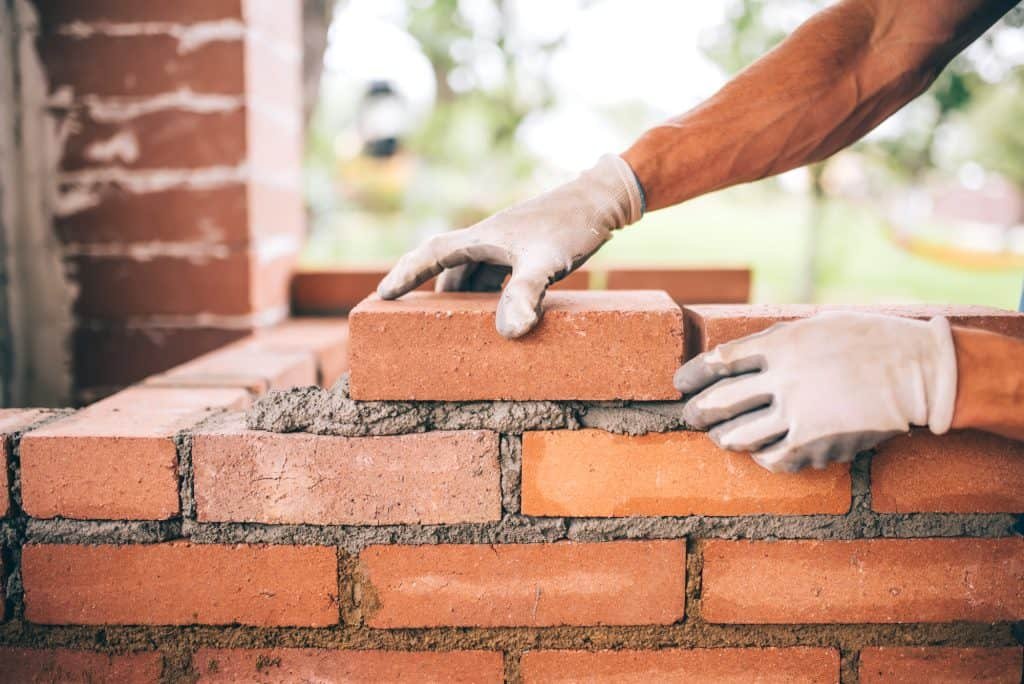
Can I Use Postcrete Instead of Bricks?
You cannot use Postcrete instead of bricks. You may use Postcrete to fit domestic posts, decking posts (small and medium gateposts less than 1 meter or 3.28 ft in width), and rotary washing lines.
You cannot use Postcrete for general concreting, render, grout, mortar, or screeds. Considering that bricks require compressive strength, you should not use Postcrete instead of bricks (source: Cambridge Dictionary).
Can I Use Postcrete for a Shed or Outbuilding Base?
Using Postcrete for a shed or outbuilding base is not advisable, as these constructions must be strong. Moreover, you need a large amount of concrete to make a shed base; it will be costlier to use Postcrete. It is, therefore, better to use concrete as it has the right strength for the project.
You should only use Postcrete for fixing domestic posts and fitting decking posts, small and medium gateposts less than 1 meter (3.28 ft) in width, and rotary washing lines.
You may not use Postcrete for general concreting, render, grout, mortar, or screeds, and a shed base falls in the general concreting category.
Therefore, when putting in a shed or outbuilding base, it is better to use concrete as it is stronger than Postcrete and an overall cheaper option for the project. There are, however, factors to consider when putting in a concrete shed or outbuilding base; some of these factors include:
Consider Whether You Really Need a Concrete Outbuilding Base
Before making a concrete outbuilding or shed base, ask yourself if you really need this type of foundation. Ensure that you have considered all the pros and cons of having a concrete shed base.
A concrete base is one of the most durable and robust bases you can have for your shed; however, it is also costly in terms of the labor and time required.
Consider the Technical Details
Ensure that you are aware of all the technical details you should know before you start building your shed base. What thickness of concrete do you need? What type of mix do you need? Is the base steel reinforced? What will be the overall cost of the shed base?
Other details you’ll want to consider beforehand include:
- Where are you building the shed?
- What is the land’s topography?
- Will water flow into the shed?
- What are the soil conditions of the site?
The soil condition will determine how deep you need to go for the foundation.
Considering these two factors, Postcrete will not be the best solution when putting in a shed or outbuilding base. Postcrete was made for smaller projects, and considering the size of a shed base foundation, you will need to use a lot of Postcrete, which will not be economical for you.
Pros of Using Concrete for Your Outbuilding or Shed Base
With these factors in mind, you can choose the best material for your outbuilding base. To help you decide, I will examine a few pros of using concrete for your shed or outbuilding base. These advantages include durability, ease of leveling out the concrete, and strength of the concrete.
Durable
Concrete is one of the most used construction materials, and its durability has been proven over time.
You must heavily compact concrete to make the best durable shed foundation; the compaction will ensure the base is resistant to any localized ground movement. For this reason, concrete should be preferred for a shed or outbuilding base to Postcrete as you cannot compact Postcrete.
Good Level
A concrete slab will be easy to level and get a good base to construct a timber panel sun-floor. With Postcrete, you may not get the best level as it sets fast, and you will not have the ample time needed to level the slab; this makes concrete the better alternative option.
Ensure that your concrete floor is elevated at least 10cm above ground level to prevent water pooling and to keep water from entering the shed. If the concrete floor is the same level as the ground, you may get water into the shed, which may ruin your equipment.
Strong
A concrete shed or outbuilding base is ideal when you have heavy machinery you want to store in the shed. A concrete mix has a lot of aggregate gravel and rocks that make it stronger than Postcrete, making it the best mix for an outbuilding or shed base (source: Britannica).

Can You Add Gravel to Postcrete?
There is no need to add gravel to Postcrete as the mixture comes with everything you need; all you have to do is add water. Postcrete comes with small stones that act as gravel, and the gravel helps strengthen the posts.
However, if you feel you need to add gravel to your Postcrete, no harm, no foul – you will get a stronger mix as gravel acts as a filler and gives your mix more volume, thus a stronger product.
Adding gravel will also make the Postcrete mix go further; nonetheless, be careful not to add too much gravel to your Postcrete to avoid deviating from the ratio of the ingredients.
What Else Can I Use Postcrete For?
Apart from its use in setting fence post installations, you can use Postcrete for several other purposes in your household like landscaping, installing outdoor sitting benches, making rotary washing lines, and installing a deck.
If you need to put in a few outside lighting lamp posts, Postcrete will come in handy as it is fast drying, and you can get your lights settled and working within a few hours.
You can also use Postcrete to install outdoor sitting benches. Measure out where you want the bench to be, dig your holes, and put the bench legs in the holes. Next, fill the holes with water and pour in your Postcrete; within a few minutes, you will have a permanent seating bench in your garden.
Postcrete is also suitable for setting up rotary washing lines. If you want to air your clothes out in the sun, Postcrete comes in handy. Just get your rotary washing lines and a bag of Postcrete. The Postcrete will set your rotary lines within a few hours, and you can air your clothes comfortably.
You can also use Postcrete to set an outdoor deck. If you need to install a deck quickly, you will not go wrong with Postcrete. Additionally, you can use Postcrete for minor repairs around your home. If you have a broken gatepost, you can repair it using Postcrete.
Please note that Postcrete is not recommended for general concreting, mortar, grout, or render.

How Many Bags of Postcrete Do I Need?
You usually need between one and three bags of Postcrete. The number of bags of Postcrete you need depends on the project, and it will also depend on the size of the holes you have made. The larger the hole, the more Postcrete you’ll need to use.
When using a standard post hole, you will need an average of one bag per post. However, for medium holes, you can use one and a half to two bags per hole, and for large holes, you can use at least two bags per hole.
The hole size depends on the post’s size, which depends on the size of the fence. If you are making a higher fence, it is advisable to use bigger posts, bigger holes, and more Postcrete to avoid the fence being blown away during strong winds.
Here is a table showing how much Postcrete you need depending on your project.
| Post Size | Hole Size (Width X Depth) | Number of Bags Required |
| Round 5 cm (2″) | 15 cm (6″) x 30 cm (12″) 15 cm (6″) x 45 cm (18″) 15 cm (6″) x 60 cm (24″) 20 cm (8″) x 30 cm (12″) 20 cm (8″) x 45 cm (18″) 20 cm (8″) x 60 cm (24″) | 1/3 bag 1/2 bag 3/4 bag 2/3 bag 1 bag 1 1/2 bags |
| Square 7.5 cm (3″) | 15 cm (6″) x 45 cm (18″) 15 cm (6″) x 60 cm (24″) 15 cm (6″) x 75 cm (30″) 20 cm (8″) x 45 cm (18″) 20 cm (8″) x 60 cm (24″) 20 cm (8″) x 75 cm (30″) 25 cm (10″) x 45 cm (18″) 25 cm (10″) x 60 cm (24″) 25 cm (10″) x 75 cm (30″) 30 cm (12″) x 45 cm (18″) 30 cm (12″) x 60 cm (24″) 30 cm (12″) x 75 cm (30″) | 1/3 bag 1/2 bag 3/4 bag 3/4 bag 1 bag 1 1/3 bags 1 1/2 bags 2 bags 2 1/2 bags 2 1/4 bags 3 bags 3 3/4 bags |
| Square 10cm (33/4″) | 15 cm (6″) x 45 cm (18″) 15 cm (6″) x 60 cm (24″) 15 cm (6″) x 75 cm (30″) 20 cm (8″) x 45 cm (18″) 20 cm (8″) x 60 cm (24″) 20 cm (8″) x 75 cm (30″) 25 cm (10″) x 45 cm (18″) 25 cm (10″) x 60 cm (24″) 25 cm (10″) x 75 cm (30″) 30 cm (12″) x 45 cm (18″) 30 cm (12″) x 60 cm (24″) 30 cm (12″) x 75 cm (30″) | 1/4 bag 1/3 bag 1/2 bag 2/3 bag 3/4 bag 1 bag 1 1/2 bags 1 3/4 bags 2 bags 2 bags 2 3/4 bags 3 1/2 bags |
What To Do When You’ve Added Too Much Water to Postcrete
You put excess water in your Postcrete, either in the hole before pouring in the Postcrete or after. You are now worried that your Postcrete will never set.
If you add too much water to Postcrete, give the mixture some considerable time, and it will soon set. If you sink your finger in the mix and it’s still wet, give it a few days to set. The mixture might be soft on the top but hard underneath.
If you wait for at least a week and the mixture is still not set, you can dig it out and restart the process.
Postcrete is a great product to have on hand; however, you shouldn’t use it when compressive strength is needed. Use the guide above to learn all there is to know about the mix.