Glass has been around for a long time, so it’s no surprise it is available everywhere. From window panes to cookware to decorative ornaments, glass is a permanent fixture all around us. Can you refurbish glass by sanding it like wood and metal?
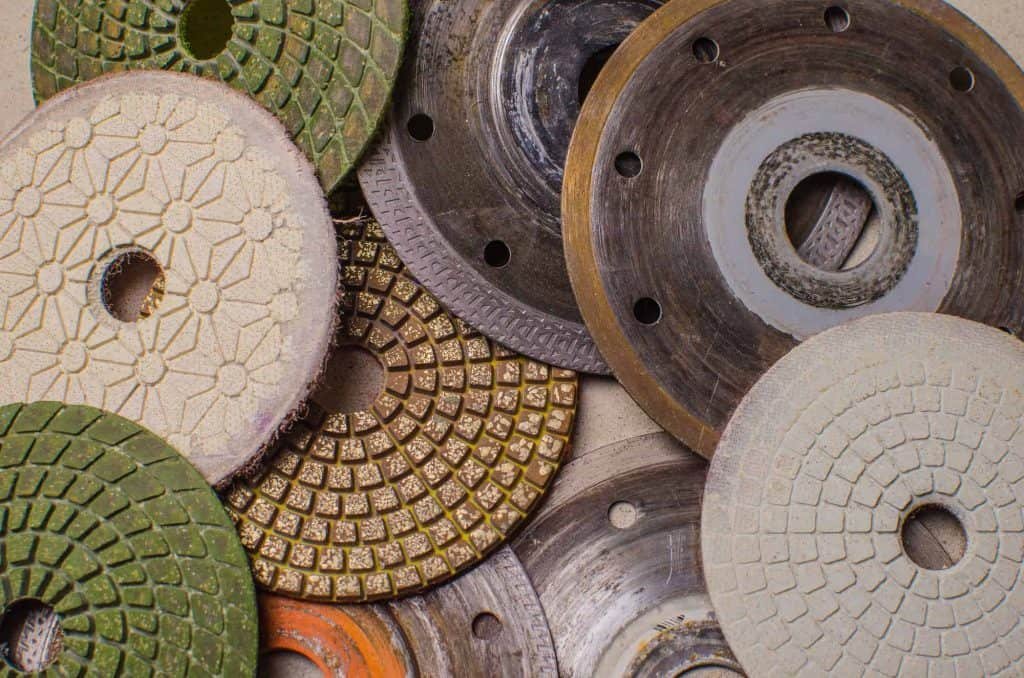
You can sand glass, but instead of standard sandpaper, you’ll need to use a diamond sand pad. The necessary grit type will vary from 80-3000 depending on the project. However, sanding glass is not always the best solution; you may wish to consider cutting the glass or finding a smaller piece.
The rest of this article will cover all you need to know about sanding and polishing glass.

Can You Sand Glass? Sanding Glass To Make It Smaller
You can sand glass to make it smaller. It is a lot of work, but you can do it (source: WoodWorking Talk). Some people go straight to cutting off part of the glass to save time and energy, but there are some scenarios where sanding the glass will deliver a better finish overall.
In this situation, you’ll need a sanding belt and sandpaper specifically designed for glass. Standard options will dull quickly and generate heat that can crack or chip the glass.
Keep in mind, if you can cut the glass down to size or replace it so you can start with a smaller piece, it’s best to explore those options first before sanding glass. For context, it can take hours to sand down tiny amounts of glass, whereas local hardware stores can cut glass in a few minutes.
Can You Sandpaper Glass? Will It Cause Scratches?
It is possible to sandpaper glass without scratching it if you use the right material for the job. This means using the right sandpaper and the right grit. For example, when sanding down a rough glass surface to make it smoother, you’ll need to start with a wet 60-80 grit option and move to finer grits as you work.
During the process, you’ll also need to keep the sandpaper wet to avoid getting a lot of glass dust in the air. Additionally, you’ll require a dust mask, safety glasses, and a pair of gloves for personal protection.
Work in a circular motion, adding some downward pressure where necessary. Maintain even pressure during sanding to ensure uniform sanding. Wipe off the surface from time to time to see the progress you’ve made. Switch to a finer grit when you’re satisfied to complete the sanding process.

What Type of Sandpaper Is Best for Glass?
You need a diamond sand pad of medium to fine grit when sanding glass. You also have to use it wet. This means that your conventional power sander will not work. In many cases, a piece of 320-600 grit sand pad is all you need.
As we mentioned above, you can go to coarser grits where necessary or even smoother options when necessary. When dealing with severe scratches and other similar scenarios, it makes sense to go to as high as 7,000 grit sandpaper (source: Red Bluff Daily).
Regardless of the grit you choose, you need to keep the sandpaper wet at all times. Dry-sanding glass is very counterproductive.
How To Sand Glass for a Frosting Effect
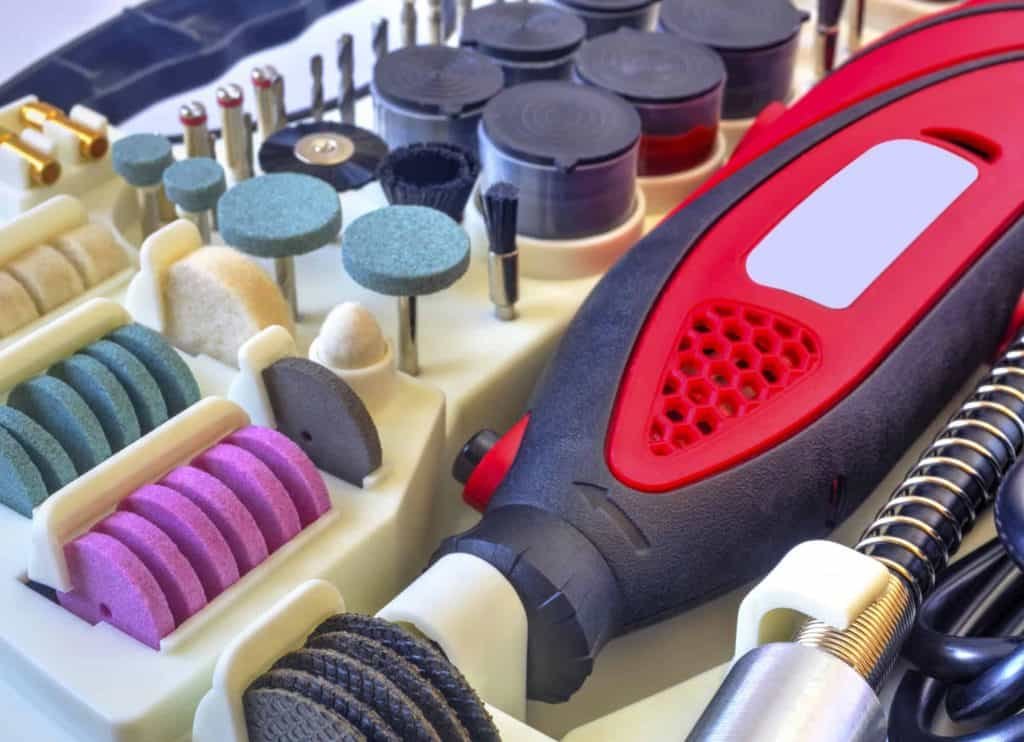
Any piece of glass with the frosted effect will look like your glass window during the winter. The semi-opaque appearance will make any bit of glassware look expensive. You can create the effect with some sandpaper bits and a rotary tool (such as a Dremel or power drill). Here’s what you should do (source: E How):
- Map out the frosted shape you’re going for using a permanent marker. (You can erase any mistakes with some cotton swab dipped in some nail polish remover.)
- Cover up areas you don’t want the frosted effect on with a coat of painter’s or masking tape. Use small tape pieces cut into the right shape when covering up tight corners and curved edges.
- Attach a sanding bit to the rotatory power tool. Be sure to use a bit that hasn’t been used to get the best results in the past.
- Set the tool to a medium speed level. The exact level that qualifies as medium will vary from one model to another.
- Sand the area you’ve outlined with the marker, using short strokes. Avoid leaving any spots untouched. Remove all the clear areas within the section you’ve outlined, and don’t use the tool on the masked parts. The tape will only offer some protection, but it won’t hold up well against persistent bumps.
- Cut out a small circle of sandpaper and use it to work the inner outline of the frosted area. You should also use a small piece of sandpaper on the frosted area. This will help make the appearance uniform. If it starts to wear down, cut out a fresh piece of sandpaper. For narrow areas and fine lines, fold the paper in half and sand using the folded edge.
- Unwrap the tape and wipe away any remaining tracing lines to get a frosted look on the glass surface.

How To Sand and Polish Glass With a Dremel
A Dremel is a rotary tool useful for sanding, cutting, and polishing glass and metal. It can perform at high speeds, typically hitting 10,000-5,000 RPMs. You can use it to get excellent results when sanding or polishing scratches out of glass, but you have to know how to handle it.
Here’s what to do (source: Makers Legacy):
Be Cautious
You need to be careful when handling a Dremel—especially when using it on glass. You need to wear protective gear to stay safe from the force of the machine and flying glass residue. Be sure to secure the glass surface you’re working on with a vise (without cracking it), and avoid touching sharp glass edges.
Insert the Sanding Bit
With the Dremel turned off, mount the glass sanding bit on the tapered side of it. The bits come in different grit sizes covering extra-fine, fine, medium, and coarse. When sanding and polishing glass, you have to start with a medium grit sanding bit on the glass and use an extra-fine grit to achieve the final polish.
Turn On the Machine
With the Dremel turned on, gently place the side of the bit to the glass surface you’re working on. Work slowly towards the center until you achieve your rounded edge.
After you’ve completed the initial sanding, turn off the Dremel and swap out the sanding bit for a finer grit option. Use this to go over the surface again for a smooth and polished appearance.
How To Sand Glass by Hand
As we’ve seen above, sanding glass by hand starts with securing the right sandpaper. Diamond sand pads are a favorite for DIY enthusiasts as they are durable enough to sand glass without wearing down too quickly.
An alternative to diamond sandpaper is silicon carbide sandpaper. Options likely found in your local hardware store, such as garnet or aluminum oxide sandpaper, should not be used.
When sanding glass by hand, you need to keep the sanding pad and the surface wet. As we stated above, keeping the sanding paper and the surface wet will deliver lubrication, improve the life of the sanding pad, provide lubrication and ensure the room doesn’t get filled with toxic silica.
Some people keep the surface and sanding pad wet by working under running water (source: Glass Etching Secrets).
However, regularly dipping the pad in a bucket of water can also work.
In general, it’s best to start with a coarser grit and then work your way up to a finer grit to finish. For example, if you start with 120-grit, progress to 240-grit, and round off with 400-700 grit.
How To Sand Down Glass Edges
The rough edges around freshly cut glass have to be sanded down for the piece to be useful. Here are a few ways to get the job done:
Using Sandpaper
- Get an 80-grit diamond sandpaper and make it wet.
- Place the edge of the glass you’d like to sand onto the sandpaper.
- Hold the glass down with your hand, protected by safety gloves and goggles. For glass pieces with multiple edges, hold them in a way to avoid cuts and piercings. (If this is not possible, explore other options for securing the glass before starting the next step.)
- Move the glass in a circular motion for five minutes over the sandpaper to get the edge smooth. Maintain downward pressure while working to push the edge into the sandpaper. Rotate the piece regularly to ensure uniform sanding. Keep the sandpaper wet throughout the process.
- Move to a finer grit and repeat the process until the edge is smooth enough. The grit progression after using a coarse 80-grit is 150-grit, 320-grit, and 400-grit.
- After sanding, polish the glass edge with 1000-2000-grit sandpaper and wipe the edge of the glass with a clean damp cloth.

Using a Dremel or Power Drill
- Attach a medium-grit sanding bit to a Dremel or power drill. The sanding bit should be large enough, with grit size between 60 and 100. Larger bits have more edge to work with, smoothing more surfaces at once. However, you need to ensure you don’t go too large that it won’t fit anymore.
- Hold the tool in one hand, and keep the glass piece down with the other. As we mentioned above, you can try securing the piece you’re working with using a clamp, but the force of the power tool can cause a crack.
- Work from one end to the other. Don’t leave the tool running on the surface, as is the case when using a power sander.
- Avoid applying pressure while using the tool, or you may break the glass.
- Don’t allow the bit to wear down completely before changing it. Depending on the level of fritz on the edges, you can expect each bit to last 3-5 minutes. That’s usually enough time to finish sanding off the edges but change to new bits if you need to spend more time on the process.
- Change to a finer grit bit to polish the surface, and then wipe down the edge with a clean rag.
Using Silicon Carbide
- Line a portion of the work surface with foam rubber and place a float glass over it. You can use any piece of glassware you don’t need as the float glass. You’ll grind the edge you’d like to work on against the float glass, while the foam rubber is useful for keeping the glass in place.
- Pour some water and coarse grit of silicon carbide powder onto the glass. Stir the mix together with a finger.
- Grab the piece of glass you’re working on and place the edge directly over the spot with silicon carbide and water mix.
- Move the edge around the mix area for 30-60 seconds. Don’t go beyond the puddle.
- Once the edge of the glass is smooth to touch, you’re done with the job.
I hope this helps you when you’re faced with the task of sanding glass – it’s MUCH easier when you have the right tools for the job!


