


Table of Contents
Hardwood floor sanding or refinishing is a demanding job where you can’t afford to make mistakes. Hiring a pro to get the job done is often the easiest way of ensuring it is done right at the first time of asking, but it can cost thousands.
Going the DIY route and sanding by hand can save you up to 50% in costs, but should you do it?
You can sand or refinish hardwood floors by hand as long as you have the right equipment. Hand or palm sanders can get the job done, but they are extremely demanding to use. For the best result, you’ll need to use an orbital or belt sander with sandpapers that are the right grits for the job.
Does sanding or refinishing a hardwood floor by hand appeal to you? Are you prepared to put in the hours to save some money? We’ll cover all you need to know in this article.
Can You Sand Hardwood Floors With a Hand Sander or Palm Sander?
One of the most common questions I get asked is whether you can really sand a floor with a hand sander (or sandpaper on a block), or a palm sander. You can go the DIY route with a hand or palm sander on this project, but the size and nature of these tools mean you’ll spend a lot more time on the job if you’re working on any half-decent-sized space.
Pros of Using a Hand Sander on a Hardwood Floor
The pros of using a hand or palm sander on a wooden floor are limited. Palm or hand sanders are small and affordable tools that offer a high level of flexibility on sanding projects. They’re pretty inexpensive. They are lightweight and easy to maneuver for just about anyone, and the smaller size means you can work with precision.
Also, you won’t have to worry about leaving marks on the floor if you use a palm sander correctly. But…

Unfortunately, all the best things about a hand or palm sander also work against it when you want to use one for an average hardwood floor sanding project.
Cons of Using Palm or Hand Sanders on a Wooden Floor
Firstly, you’ll have to burn a lot more time and energy on the sanding process as you move up and down the floor with a sander that is usually half the size of a standard sheet of sandpaper. See the image above of what happens when you try to do this on a deck (and they’re usually smaller than some floors!)
Secondly, most palm sanders consume a lot of sanding paper. Sure, the sandpapers don’t cost a lot, and some manufacturers tend to include some free pieces in the box, but it’s something you should consider carefully. Depending on the size of the floor, you could end up spending more than the cost of hiring a proper floor sanding machine.
I ought to point out that in most cases, a hand sander is necessary to finish the corners of a room, even if you’ve used a proper sander for most of it.
If you’re thinking about sanding by hand, you can use your palm or hand sanders in these corners and pay attention to how long it takes to complete the job. Do the math for repeating the same process for the rest of the room, and you can understand why hand sanding is not a good idea.
Therefore, you should only use a palm or hand sander for your wooden floor if you’re working on a really small surface or if you won’t mind spending far too much time on the process. Most owners of palm sanders use them to work on small wooden pieces in furniture projects (Source: BHG) rather than floors, and for good reason.
So if you can’t use a hand or palm sander, which kind should you use?
Sanding Hardwood Floors by Hand With a Belt Sander or Orbital Sander
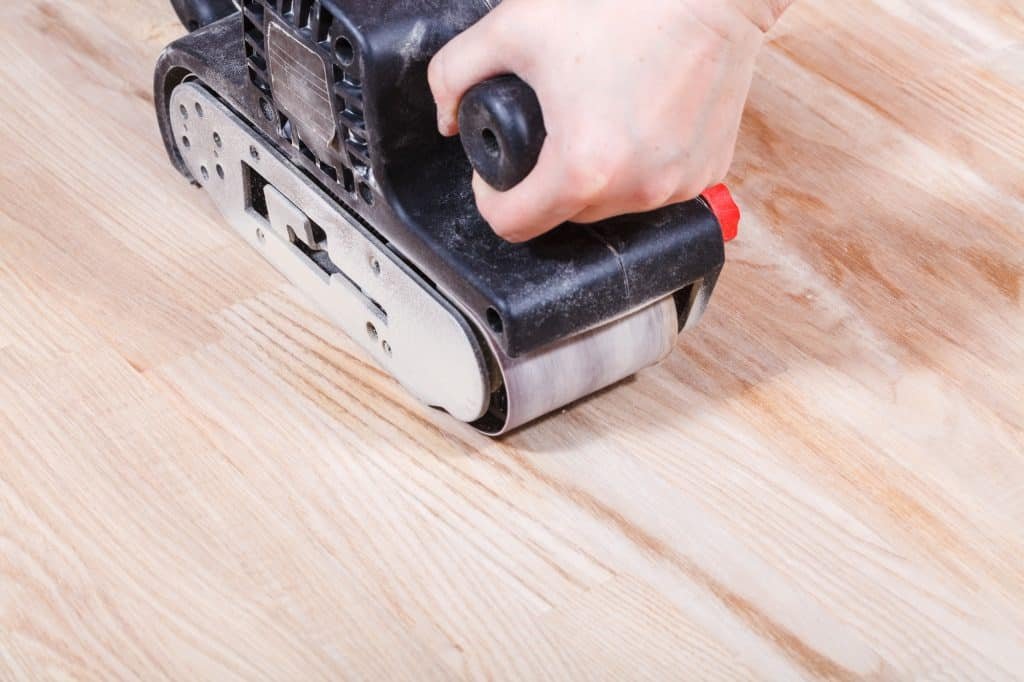
If you’re thinking about sanding hardwood floors by hand, a belt sander is one of the top options you should consider.
Pros of Using a Belt Sander on a Hardwood Floor
Belt sanders are a lot more powerful than a palm sander and can also sand off the old finish and dent more easily. It will also allow you to complete the project a lot faster. However, the speed still won’t match up to standard drum sanders.
When using a belt sander, you have to rhythmically move it forward and backward and from side to side in a circular motion. You’ll also need to apply the right amount of pressure with each pass to complete the sanding process as fast as possible.
Cons of Using a Belt Sander to Sand a Floor
Again, a belt sander won’t deliver great results when used to sand the edges of the floor. Using it will often go against the grain, delivering a poor finish.
Even when you manage to go with the grain, this can give you an okay finish, but it still won’t be the best you can get right at the edges
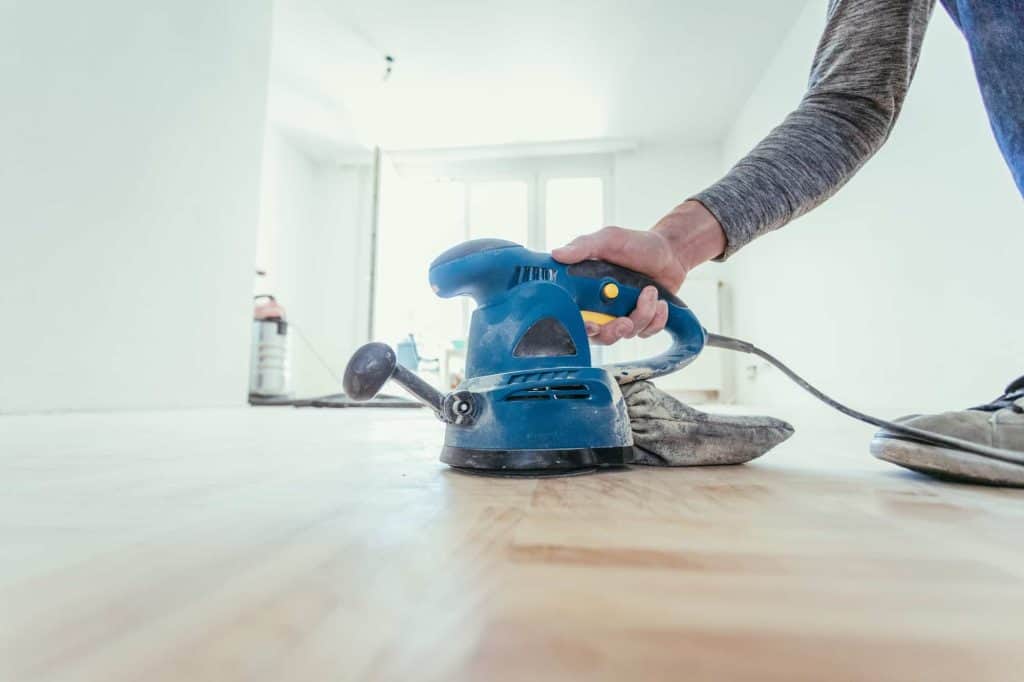
Orbital Sanders for Hardwood Floor Refinishing
An orbital sander is also a slightly better alternative to a palm sander, but it will deliver an overall worse sanding experience compared to the belt sander. Orbital sanders are best for ensuring a smooth finish on wood when you’re working on a small area.
They work by spinning a sanding disc in small circles. They are normally shaped to handle edges and corners more easily than belt sanders. The sanding experience you’ll get while using one of these will come down to the size of the sanding pad. Orbital sanders will also leave swirl marks on the floor—something you should consider if you don’t want to paint your floor.
Again, the speed of your project with these won’t be as slow as a palm sander (depending on the size of the sanding pad you’re working with), but a belt sander will be faster.
How To Sand Hardwood Floors by Hand
To sand hardwood floors by hand, here are the steps you should take:
1. Decide on the Tool To Use
We’ve talked about palm or hand sanders, belt sanders, and orbital sanders above. You can also elect to skip the tedious work with these small sanders and get a trusty drum sander – which is what the pros use. However, since this article covers sanding by hand, here’s what you need to know:
You’ll probably need an edger to sand corners of the space that the drum sander or orbital sander won’t reach. You may also need your palm sander for these corners.
Once you’ve settled on what tools to use, you can either buy them or rent from a local company. Most people will rent what they don’t have as buying will be too cost-intensive.
If renting from an experienced company, they will offer lots of practical advice you’ll need to get the job done, including machines, sandpapers, and other such tools.
Pro Tip: If you’re renting tools and intend to work on the floor for 1-2 days, you can save some money by renting on a Saturday morning. Some companies won’t count Sunday when calculating your bill, so you get a free day to work!
2. Gather Your Protective Gear
You’ll need protection for your ears and eyes, and you’ll also need a respirator. Most of the sanding tools you’ll use are built to collect the bulk of the airborne dust in preinstalled dust bags or a vacuum, but they are not 100% foolproof.
You should also consider wearing long pants instead of shorts to protect your legs from any flying debris.
3. Prepare the Floor
You have to clear out everything from the room. Apart from creating enough space to allow movement for yourself and the machine, clearing out the room will save you the time you’ll spend cleaning out dust from your furniture, electronics, and other items in the room.
Close the door and block the space between the floor and the door with an old rag to keep dust from spreading to nearby rooms. For heavier items you can’t carry out of the room, push them to a corner of the room and cover them up while you work in the empty corner.
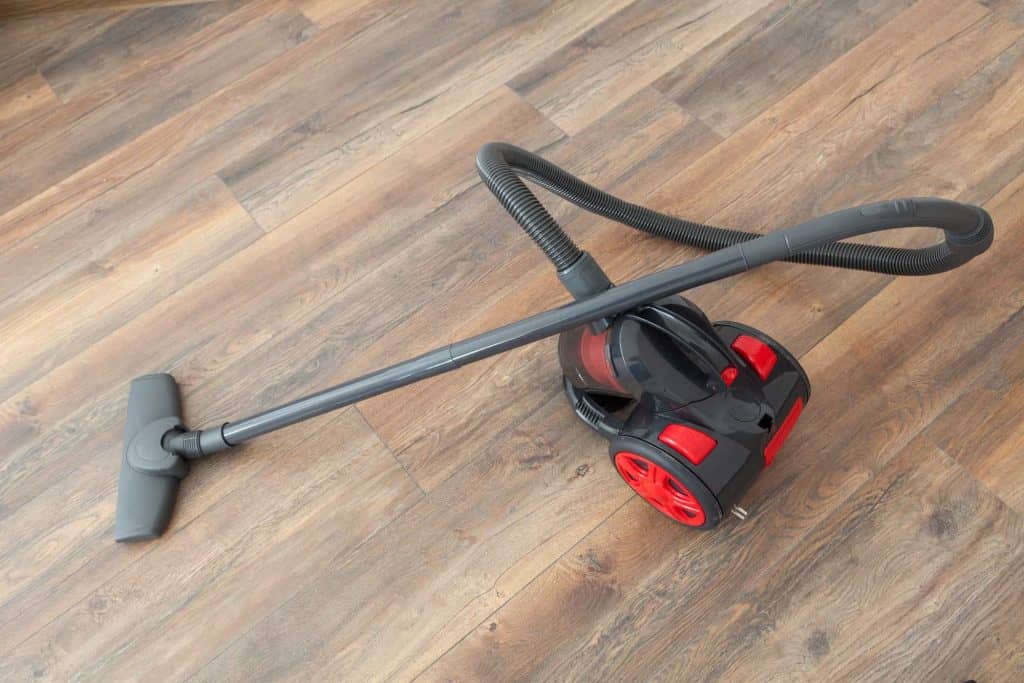
At this stage, you should also check for any loose nails and knock them back in to avoid injuries while working and damage to the machine. Once the room is cleared, and loose nails are taken care of, the next step is to vacuum the room to get rid of any dirt that can badly scratch the floor when you start sanding.
4. Start Sanding
The exact sanding process will vary depending on the tool you’re using. With the belt sander or palm sander, you just need to position the machine on the surface you’re about to work on and turn it on, moving back and forwards or left and right as the case may be.
The process is also the same for a drum sander. Once the machine is turned on, slowly lower the rotating drum to the floor. Start moving forward immediately it comes in contact with the wood, in line with the grain.
Once you notice that the sander is no longer removing layers as well as it did at the start, it’s time to change the sandpaper you’re using. Sanding between the boards may be difficult, depending on the tool you’re using.
Depending on the regularity of the spacing and the shrinkage, a belt or drum sander may be able to neatly sand between the boards. Where this doesn’t work, you should use a palm sander with 60-80-grit sandpaper to go over the area.
Sanding along the edges of the floorboards requires using the edger you hired earlier. A drum sander will only get to within a few inches of your walls. An orbital or belt sander also won’t reach the edges properly. Using an edger, you can sand along the edges of the floor better. You can also use a triangle-tipped palm sander for this stage of the process using 60-grit sandpaper.
Remember, you should start with coarse-grit sandpaper (16-24 grit) to remove the varnish and top layer of the floor and work your way up to finer grits (120-grit or more) for a smooth finish.
As you move up the grits level, vacuum the mess created in the previous levels. The dust chamber will only trap airborne dust, leaving the heavier stuff for you to clean up with a utility vacuum. Store this away from the room to avoid spontaneous combustion. Repeat the sanding process (and movement) as you increase the grit count and clean in between changes for a clean finish.
5. Clean the Room Again
When you’ve completed the last stage of sanding and vacuumed all dust, use a rag to wipe down walls, your baseboard, windows, etc., and vacuum again. You can also give the room a day for any remaining airborne dust to settle. At this point, your floor is ready for polyurethane and other types of finish you may want to apply.
If you fail to clean the floor thoroughly, any dust particles left will get sealed in with the polyurethane, giving a scruffy appearance.
You should only walk across the newly sanded floor with socks as shoes or boots will leave scratches on the sensitive surface. You can resume walking across the floor after applying the finish.
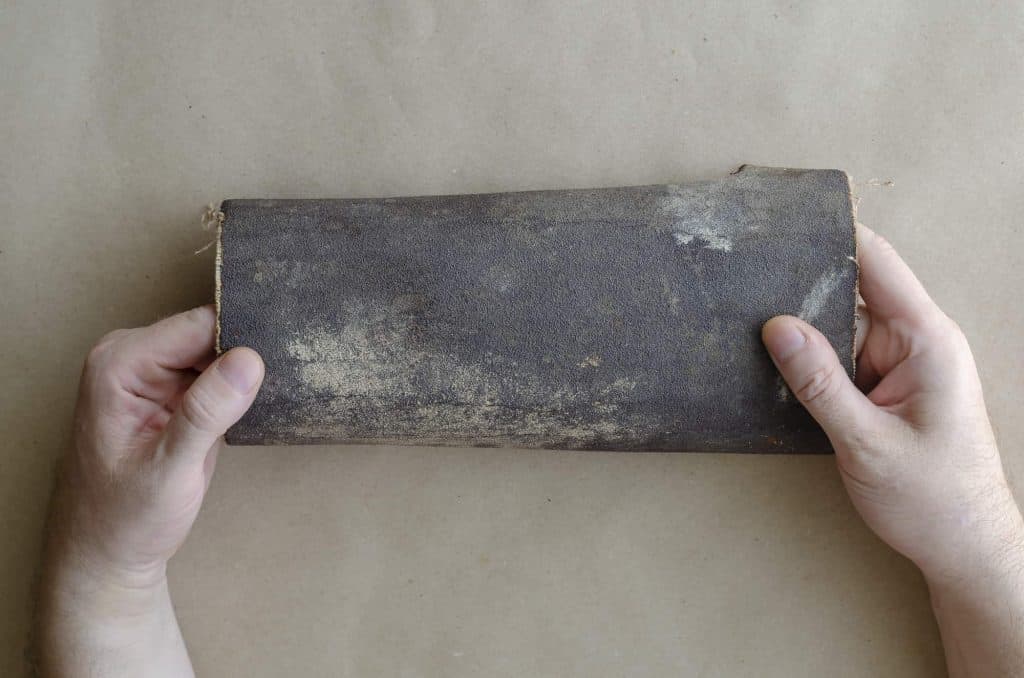
What Sandpaper Grit Do I Need To Refinish a Wooden Floor?
One of the biggest mistakes you can make while refinishing your wooden floor is to use the wrong sandpaper grit.
The right type of grit to start will depend on the condition of your floorboards. If they’ve been sanded before and you’re looking for a fresh look, you can start with finer grits. Otherwise, you’ll need to start with really coarse sandpaper.
If your wooden floor hasn’t been sanded before, the maximum sandpaper grit to use is 24. Homeowners with floors that have a very thick layer of varnish can go even lower to around 16 grits.
This may sound excessively coarse, but if you start with a finer grit, you won’t be able to properly sand away the old varnish and dirt currently on the floor. Also, you’ll have to spend more time on the job in addition to rising costs from using far more sandpaper than necessary.
When you use the wrong grit, your sandpaper will clog up very fast and become useless. You’d lose money on way more sandpaper, but also you’ll work longer as you’ll spend a lot of time on changing the paper.
After you’ve started the process with a coarse 16 or 24-grit sandpaper and have removed the old layers of varnish, grime, and stain on the floor, you can move to less coarse paper. The recommended progression to follow is 16/24 grit first, then 40 grit, 60 grit, 80 grit, and rounding off with 120 grit (Source: FH). Don’t get tempted to skip out on the extra four sanding sessions with finer grit after using the coarse 16/24 grit sandpaper.
After the coarse sanding, your floorboards will have a rough surface. Sanding again with the finer paper ensures you can reduce the roughness of the wood. Going the whole way to 120 grit paper ensures your floor will look smoother and appear like a professional job. Also, it’s easier to maintain a very smooth floor than a rough one.
Change your sandpaper frequently. As we mentioned above, you’ll know it’s time to change the sandpaper as soon as it stops removing material as sharply as it used to when you started. Changing the sandpaper at the right time will save you time on repeat runs across the same surface.
It’s easy to underestimate the amount of sandpaper you’ll need for this job, and that’s a mistake you should avoid. If you’re hiring your sanding machines, the shop should have a deal that allows you to return any surplus paper. Take advantage of it—especially if you intend to work over the weekend when the shop won’t be open.
The exact number of sandpaper sheets will vary, but a good tip is to get at least a dozen of each grit type you need for your project for each of the machines you intend to use. So, if you need to use a drum sander and a palm sander for the job, you’ll need two dozen sheets of the different grit.
I hope this gives you the confidence to tackle sanding a hardwood floor by hand, and that it doesn’t take you too long!