


Table of Contents
Rendering the walls of your home or other building makes it more durable, but often patching up the render results in a rough surface. Before you decide to apply a fresh coat of paint, it’s better to start with a smooth surface.
You can sand render down using a grinder or a sander. However, the best way to get smooth rendered walls is to do most of the smoothing while it is still damp using a sponge float.
This article aims to address the question of sanding render. I will also briefly tell you on how to sand render to attain the smoothest finished texture possible.
Can You Sand a Rendered Wall?
The main problem when sanding rendered walls is the sheer strength of render. Traditionally, render is made of sand and cement mixed to form a mortar to provide exceptional strength and weather resistance.
As it sets, the dried cement resembles concrete, which makes sanding the render particularly difficult.
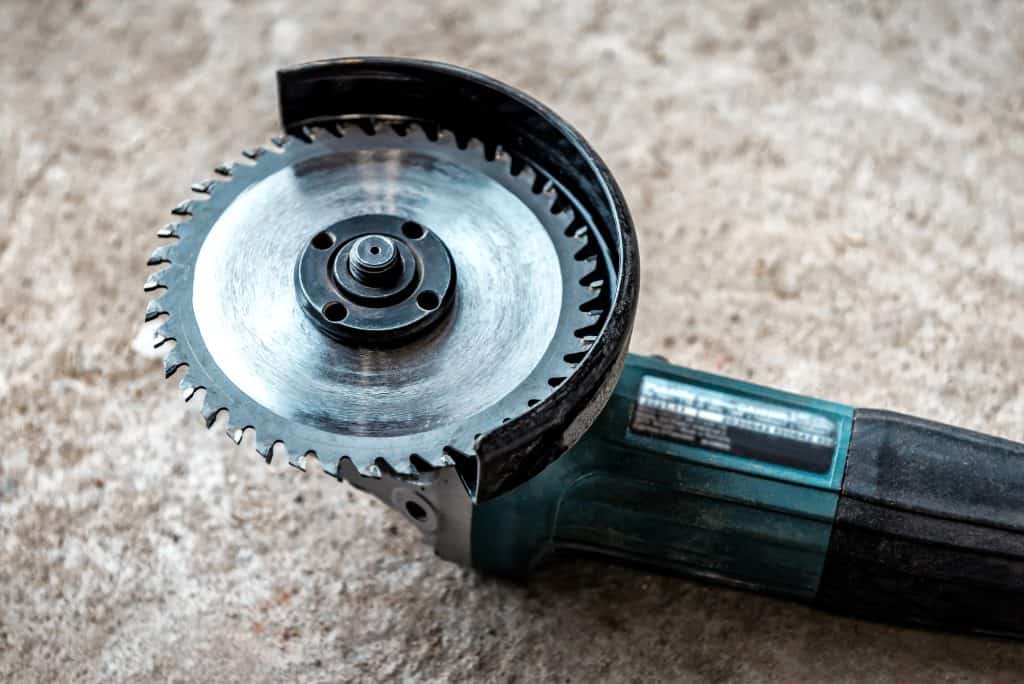
You can sand a rendered wall using high grit sandpaper. Sanding is usually the first step before painting and is also an essential part of patching up old render. Since render is very hard, use a grinding disc first, followed by higher grit sandpaper for the smoothest finish.
Since sanding render is tough, most professional tradespeople often first smooth out the surface using a sponge float.
It is a tool with a rubber side that is used to smooth out most of the damp render before it sets. In years gone by, render was often left with a textured finish. (Source: Architecture & Design)
How Do You Sand Render Properly?
You can sand render properly using a diamond concrete grinding disc and sandpaper. Preferably begin sanding after you have finished the process of smoothing using a sponge float and waiting for the render to dry completely. Older render may require repeated passes using the sander.
Although expertly using the sponge float will give you a semi-smooth finish, the walls will probably still have a bit of a rough texture to the touch. If you want to paint your exterior walls, sanding them down is the best option to achieve that pristinely smooth look.
Grinding is also helpful if you’re renovating an older house that may have required a lot of patchwork on the old render, resulting in large protrusions. Finding protrusions in your render is also common if you (or someone else) did a lousy job rendering the wall.
Here is a short guide on how to sand render correctly. Firstly you will need a pneumatic sander, a grinder (optional), and a water source (a hose will do the trick). The entire process involves grinding the wall and then sanding it down using a sander.
Ensure you have all your protective gear on, including steel-cut boots, a respiratory mask, protective gloves, and earmuffs.
Using a water hose or any other water source, spray the wall you intend to sand down until it is sufficiently wet.
Fit your drill or grinder with a diamond disc grinder and ensure it is securely in place.
Begin by grinding down any large protrusion (if any) to ensure that your sander works on a roughly flat surface.
Continuously spray the wall with water while grinding to lubricate the grinder and speed up the process.
Once any significant protrusions are taken care of, you can switch to a sander. Use 120 grit sandpaper or higher for the best finish. Buy extra sandpaper discs because you might go through them quickly.
Start your sander before placing it on the wall, and position it perpendicularly. Make sure you are using both hands to control the sander with a firm grip.
Apply even pressure firmly on the sander, but do not press too hard to avoid damaging the motor and scratching the wall.
Move in small circular motions slowly, starting from one corner and gradually moving towards the opposite corner.
Wipe down the rendered wall using a damp cloth every two or three minutes or so.
You may need to repeat the sanding process to get the smoothest results. It all depends on what you had to start with.

While the process sounds pretty simple on paper, I must warn that a grinder and a sander are two very powerful tools that might be overwhelming if you are a beginner. While grinding, add water as mentioned above to lubricate the grinding process.
Lubrication will help facilitate the grinder as it works to remove the protrusions to achieve a smoother end result.
Sanding is not difficult, but it is a laborious job, even on softer materials like wood. When dealing with render, sanding becomes much more difficult because render is such a hard material designed to withstand environmental erosion for a long time.
You may find that any old type of render (pre-industrial revolution) is much harder to sand because the formulas used in the past are more durable and less flexible.
If you feel that the grinder is too slow or that it isn’t removing enough of the sand and cement render, you can always chip it away with a hammer and chisel before rendering the wall yourself. Applying render isn’t extremely difficult, but it’s hard to do in the right way and quickly.
You can sand render after grinding it to avoid overworking the sander using high-grit sandpaper. Sanding rendered walls is advisable before painting or after patching up old damaged render.