The traditional approach of using a primer or undercoat before painting continues to be the default preference of contractors and homeowners, despite the availability of self-priming paints.
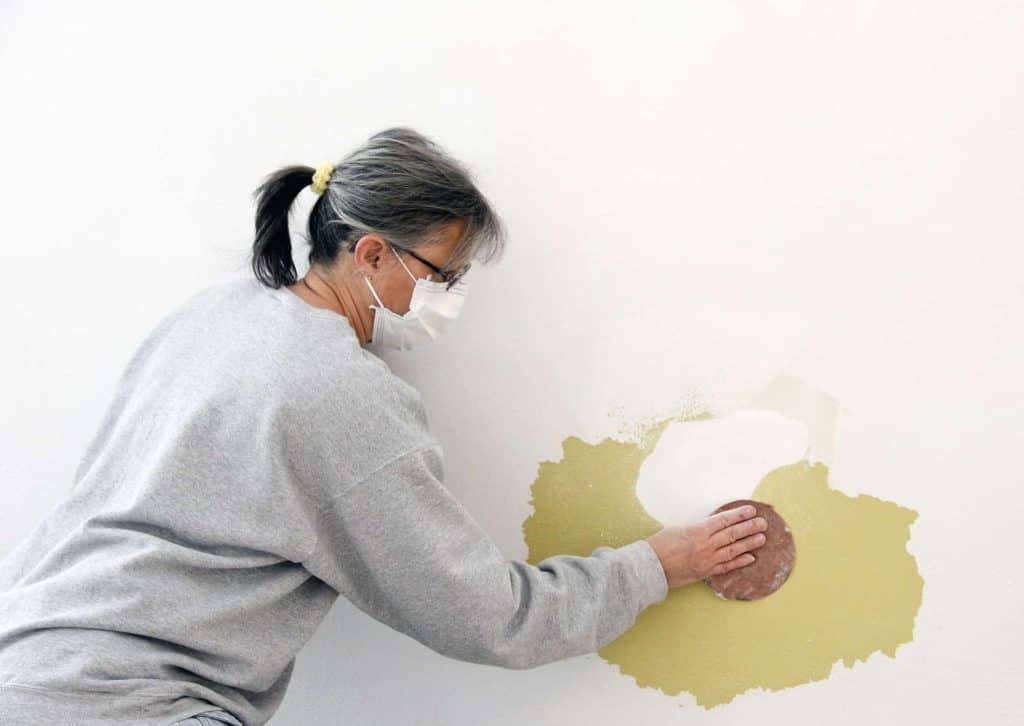
Another conventional practice is sanding the surfaces while prepping. These two requisites may make you wonder if you need to sand the undercoat or primer, too (source: Consumer Reports).
You should sand undercoat or primer before painting to increase adhesion and attain an impeccable finish. Also, you must sand between coats, whether it’s the primer or paint. Otherwise, the oddities on a material’s surface can impair a paint’s aesthetics and finish.
An undercoat or primer is literally the base for paint, so you should be able to paint on a dried primer or undercoat. But do you need to sand before painting? Read on to find out more about sanding your primer, including how long after primer application you can start sanding and what grit to use.
Do You Need To Sand Undercoat (Primer) Before Painting?
Every surface needs several rounds of prepping before you can paint on it, irrespective of the material. Drywall, masonry, concrete, wood, and metal all need appropriate sanding before you can apply a primer. Some walls and ceilings need scraping and caulking to remedy imperfections.
The real-world imperfections are also why self-priming paints don’t work as well in practice as in theory. Besides, porous drywalls, typically alkaline masonry, and bare wood or metal coated with glossy finishes pose adhesion problems for most paints (source: ImageWorks Painting).
You need to sand undercoat as it’s integral to priming and painting your walls, ceilings, furniture, appliances, and automobiles. Sanding is necessary for most primers, including epoxy, if it’s fully cured. The sole exception to this rule is a few self-etching primers.
The first thing you need to do is get rid of dust, dirt, and grime, scraping the superficial unevenness and patching or spackling all cracks and holes. Then, you must sand the surface to prepare it for priming, but carefully as not to remove any caulk (source: This Old House Ventures).
The second phase is priming and sanding the surface. You may use a material-specific primer and opt for one or two coats. You may also sand the undercoat as many times as you apply the primer to prep it for painting.
Finally, as you paint, sand the first coat, and proceed to the subsequent coats.
Sanding is quintessential for glossy finishes. Some surfaces like wooden furniture may need wet sanding. Walls and ceilings warrant dry sanding after cleaning, before priming, and between two progressive coats of primer and paint. Sans sanding, any imperfections will be glaringly visible.

Do You Have To Sand Self Etching Primer?
While you can sand self-etching primer, some manufacturers prohibit it. When using this type of primer, don’t sand between coats. Both epoxy and self-etching primers should be fully dry before sanding with finer-grit sandpapers. Also, using protective gear is recommended.
A self-etching primer is an option for bare metals and fiberglass, but they contain acids. That’s why it’s generally unsafe to sand self-etching primers after application, and especially without wearing protective gear, such as masks, as you may be exposed to toxic fumes (source: ScienceDirect).
A manufacturer that advises against sanding is Rust-Oleum. The brand recommends dry sanding with a 400 grit sandpaper after its self-etching primer is fully dried, which takes around 3 to 4 hours (source: Rust-Oleum).
There are other primer types that you can choose from, depending on the surface or material you have. Water-based latex primers are for drywall, softwood, masonry, and galvanized metal.
Oil-based primers are better for hardwood and steel. A resin or shellac primer suits wood, plaster, metal, and plastic. No matter which primer you choose, these generally need sanding (source: True Value Company).
How Long To Wait Before Sanding After Primer or Undercoat?
You should wait for a primer or undercoat to be completely dry before sanding. The wait may be 30 minutes, 1 hour, or a day, depending on the temperature, relative humidity, and undercoat or primer type. Always refer to the manufacturer’s recommendation to decide.
Also, the wait time depends on the conditions at the time of applying a particular type of primer. Take the example of latex primers. Typical latex primers dry in around 30 minutes if applied at room temperatures of around 77°F (25°C) and relative humidity of ~50% (source: SFGATE).
However, most latex primers need up to 1 hour to feel dry to the touch. Still, such primers aren’t in an optimum state for either sanding or painting. A primer must be thoroughly dry before sanding, even if it’s the first coat, and you may go for another round before the actual painting.
Furthermore, the primer type has a bearing on the wait time. For instance, a tinted primer may not dry identically as a regular variant, despite the base being the same, such as latex, oil, resin, or self-etching. Besides, your climate zone will have an inevitable influence on the wait time.

What Grit Is Best To Sand Undercoat or Primer?
It’s best to sand undercoat or primer on walls and ceilings with 120 grit sandpaper. You may opt for 150 grit sandpaper or finer, but don’t go coarser. Also, don’t apply undue pressure on the primer while sanding. Choose slightly finer grits for subsequent coats.
You’ll need sandpapers of varying grits for different phases. Preparing a surface, such as walls or ceilings, requires 80 to 100 grit sandpaper or sanding sponge. These rougher grits are necessary to smoothen the surface, but not for the primer (source: Saint-Gobain Abrasives).
Cars and trucks are a different story, though. Self-etching primer needs ~400 grit sandpaper. It’s best to use 600 to 800 grit sandpaper to sand other primers on automobiles. A 1,000 to 1,200 grit sandpaper is suitable for the top coat of primer and later (source: Sandpaper America).
It’s alright to use coarser sandpapers on immensely unclean and extensively uneven surfaces and then proceed to finer grits for minor imperfections.
However, it’s better to start with a finer grit for primers before deciding if a coarser sandpaper is necessary. You don’t want to damage the primer in any way to address a tiny imperfection that may be manageable with a finer grit.
Conclusion
Sanding a primer or undercoat is practical, or else you may find glaring flaws on your walls, ceilings, furniture, and cars after the entire process. Thus, make changes as you progress to avoid realizing errors in hindsight when you’ll have already used almost all of your supplies.


