


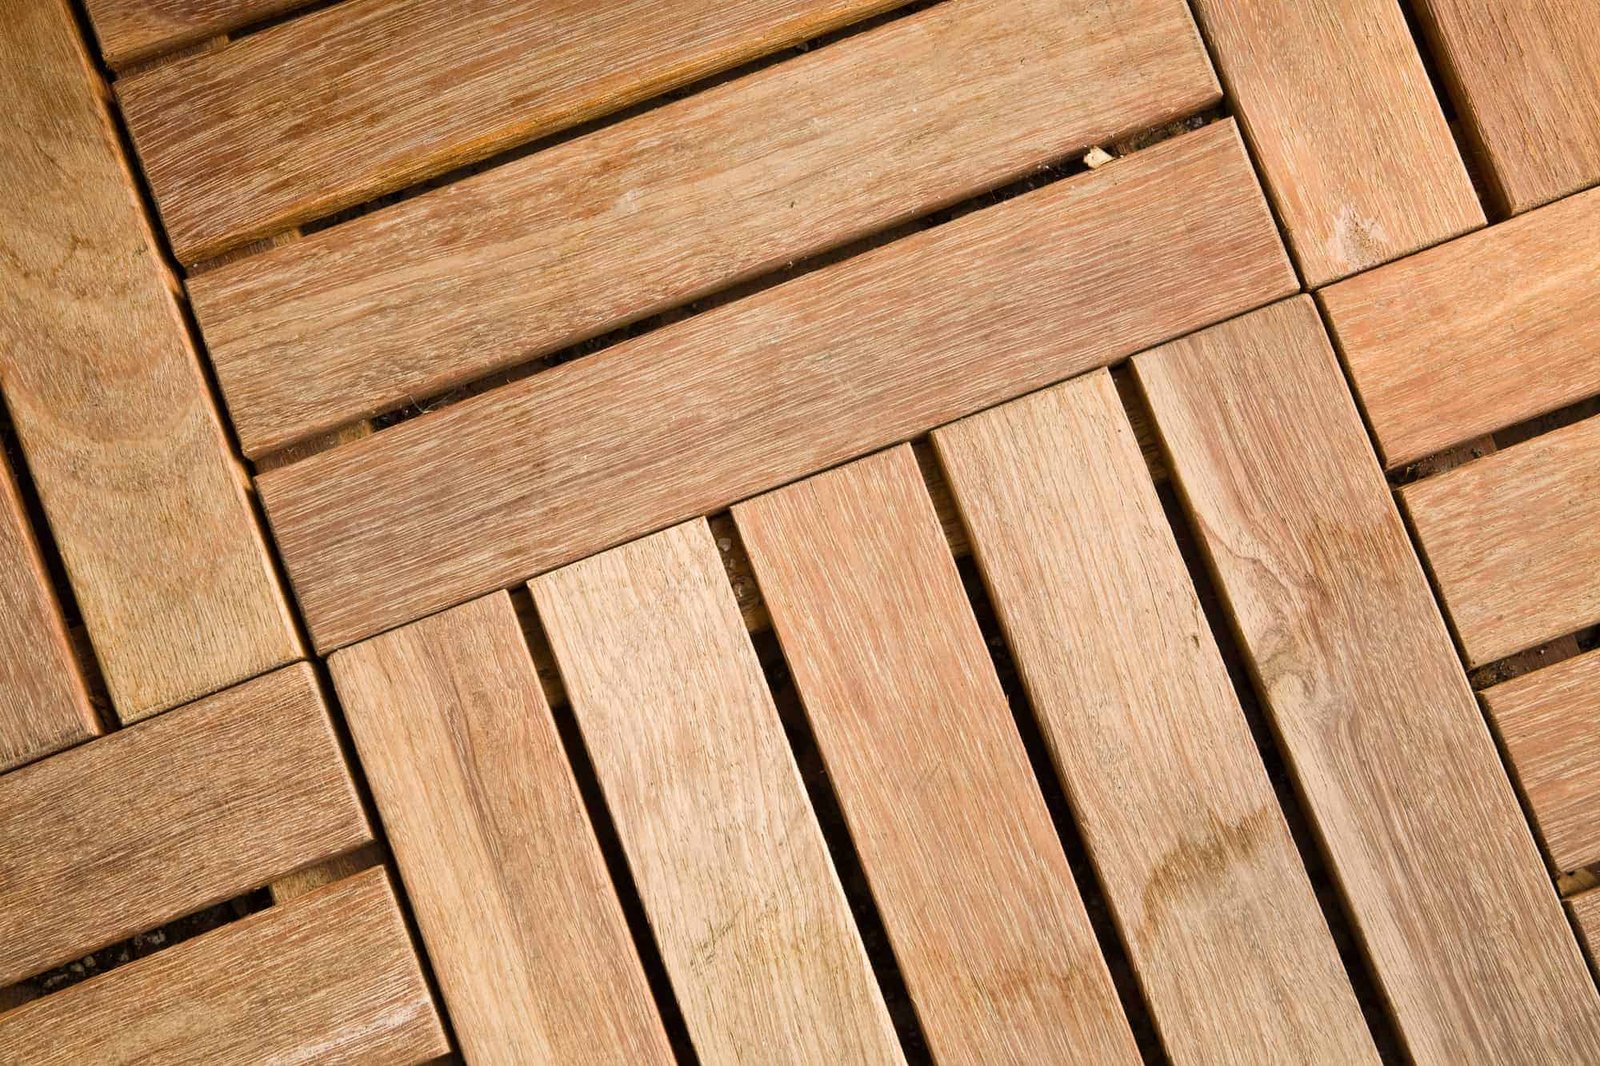
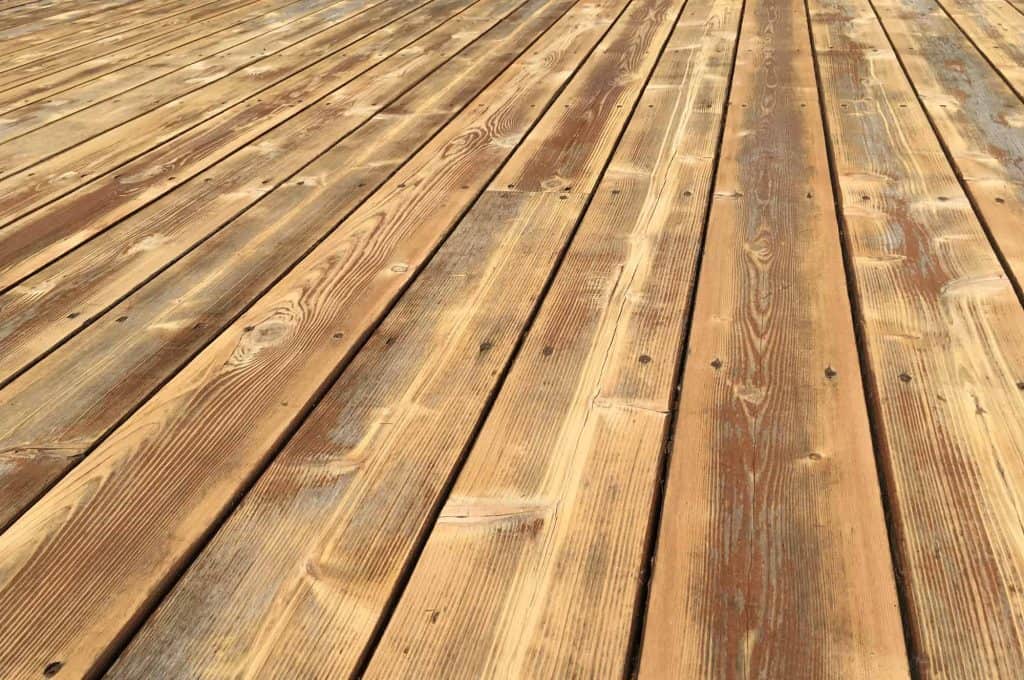
If your wooden deck looks old and dull, it will be very embarrassing when you invite someone into your home. Not only will guests be bothered by looking at it, but you will also feel disappointed every time you set your eyes on the deck.
However, the good news is that you can solve the problem by sanding deck with a floor sander. This will surely make the deck look attractive and functional as new. The following article will let you know all about it. Check it out.
Necessary Equipment To Sand a Deck With a Floor Sander
- Best Floor sander
- Palm sander
- Sandpaper (Grit number: 20- , 36- , 50- , 80- , 100-)
- Push broom
- Screwdriver bits
- Drill
- Decking screws
- Hammer
- Detergent
- Sponge / mop
- Bucket
- Epoxy wood filler
- Putty knife
- Paint scraper
- Vacuum cleaner
- Protective eyewear
- Dust mask
Steps To Sand a Wooden Deck With a Floor Sander
Below, you will find the proper steps that you need to follow to sand a deck with the help of a floor sander.
Step 1: Make Repairs
Wear protective eyewear and a dust mask at the beginning. Use the push broom and start cleaning the deck. Remove all debris. Make sure all the fasteners are properly joined. If they are not, take the screws and drill them. Use the nails, hammer and screwdriver bits for additional support.
During this process, if you find out that boards are disoriented, use the decking screws. This will make sure that the boards are fitted with the joists securely.
Step 2: Clean Every Area
Use warm water and pour it in a bucket along with the detergent. Mix all of them up and create a solution. Wet the mop and use it to clean the deck. Clear the whole thing with fresh water and let it dry for a day or two, depending upon weather conditions.
During this time, check all the gaps of the deck. There will surely be some debris that was out of sight for a long time. To clean this area, use the paint scraper and pull all of it out. Do it slowly, or else you will create scratches.
Step 3: Start Sanding the Deck
Take the 20-grit sandpaper and attach it to the floor sander. Fit it properly so that you don’t face any problems afterward. Then, start sanding the deck slowly. After you are done with that, take the palm sander and sand all the corners. Don’t forget to sand beneath the bench.
This process will require some time, so be mentally prepared for that. If you are in a rush, avoid working on that day. When you finish sanding, take the vacuum cleaner and clean all the dust.
At the same time, one thing you should keep in mind is that the lower numbered sandpaper is rough and it is used mainly to remove paints and deep scratches. If this sandpaper is creating scratches on your wooden deck, switch it to 50-grit. Always check which works best for your deck.
Step 4: Take Care of the Broken Areas
As the deck is old, it is highly predictable that it will have multiple cracks or even holes. You can solve this problem by using epoxy wood filler. Apply the filler onto the affected areas with the help of a putty knife. Check whether the cracks or holes are filled with epoxy or not. When all of them are properly flat, leave it to dry and settle.
Step 5: Give it a Final Touch
If you find some minor scratches, increase the grit number of the sandpaper. Finish the whole thing with 100-grit sandpaper. This will make the surface smoother and will give a shiny look to your deck. After this process, clean the area with the vacuum cleaner.
Conclusion
As you have seen, sanding a wooden deck with a floor sander is not a tough job. With the proper knowledge, you can give the deck a fresh new look. Your guests will compliment your work, and this will surely lift your mood.
Have a nice day!