


End grain woodworking is an ancient technique where the lumber has the end cut off at a right angle to the growth rings. This angle allows sawdust to fall out of the end grain when planing, making it easier to work with.
However, sometimes you get tear-outs and rough edges that can be challenging to sand smooth.
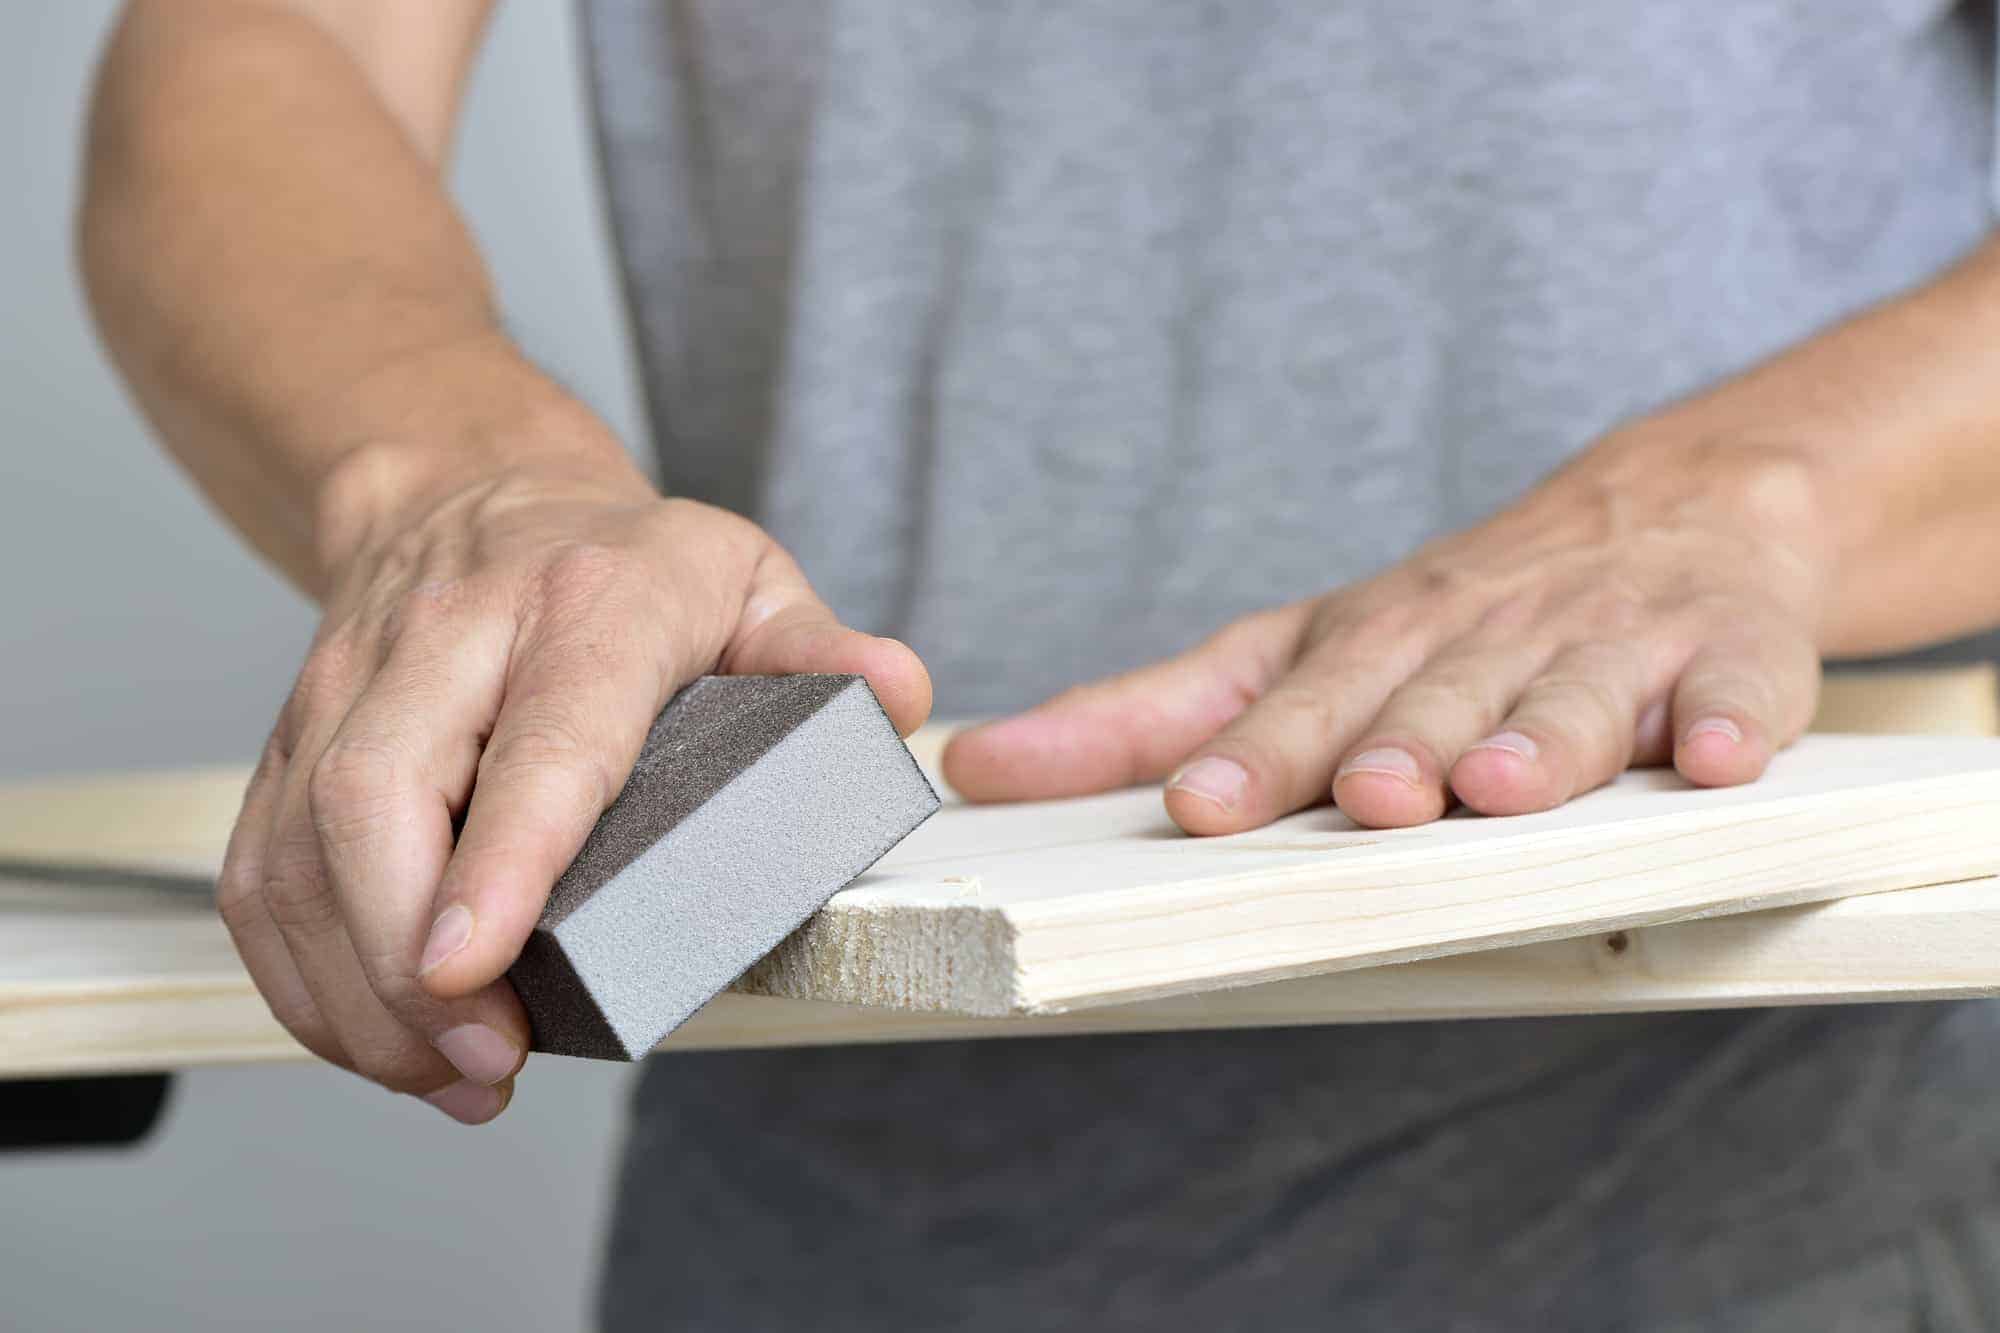
To sand the end grain smooth, you can use sandpaper, sanding drums, or sticks to scratch off tear-outs and tough spots.
Such tools level out the surface of the end grain to flatten it out, leaving a smooth, perfect finish on the ends of your wood.
Let’s go over the best ways to sand end grain and provide some answers to common questions.
How To Sand the End Grain Smooth: Best Ways To Do It
End grain woodworking projects often reveal unsightly tear-outs.
These look like tiny chips and splinters of wood that come loose from the end grain when you cut it. If you want to have a smooth end-grain surface, you need to work on the wood after it’s been planed or sawed.
End grain is difficult to sand because its flat surface is at a right angle to the direction you want the sandpaper to move.
Because of this, a lot of the sandpaper will be bearing on the rounded ‘valleys’ and not pressing down to flatten them out and create a flat surface. That causes most of the sanding to be done by pressing down on the ridges.
In addition, using plain sandpaper doesn’t always do the trick on tear-out because the rough edges often shred and ruin your sandpaper.
So, you’ll need to use something with a sturdy base to help you pull off splinters without damaging your wood or tools.
Here are several ways you can sand off tear-out on your end grain without causing more damage to your project:
How To Sand The End Grain With Sanding Blocks
Sanding blocks are simple to make and are usually made from scrap wood. If you want to know more about sanding blocks, read my article here.
They come in two forms. The first is flat on the sides and just a piece of board with sandpaper glued onto the flat surface. The other type is the sanding block with a long handle.
Sand blocks come in a wide variety of grits, from 24 to 1000, with coarser being better for end grain. These are helpful when you have to sand across wide end-grain pieces. (source: the Spruce).
These tools are very effective, and their ease of use makes them one of the best ways to sand end grain.

How To Sand The End Grain With Sanding Drums or Sticks
You can also use sanding drums or disks. These are made specifically for sanding the end grain with a drill.
They come in flat styles and drum styles that fit into a drill. However, they’re not as easy to handle. You can’t use them with an orbital sander, and they require the use of a drill.
Using a drill with sanding drums can be tricky, but it’s possible to do.
The notable drawback of these tools is having the right kind of drill. Most cordless drills won’t work because they don’t have the power to turn the sanding drum in the end grain of the wood.
So, you’ll need a power drill with variable speeds and a powerful motor.
How To Sand the End Grain on a Cutting Board
A cutting board is a perfect example of sanding end grain smooth.
The first thing you need to do is run the cutting board over a jointer.
This will create one flat face which you can sand down against. If you just try to grind the end grain on the boards by themselves, they’ll roll and won’t stay flat.
Allowing the end grain to become round and deformed will render any sanding you do entirely useless because it’ll be difficult to flatten the board.
Once you’ve run your cutting board through a jointer, you’ll want to clamp it down to your flat surface and begin sanding the end grain as smooth as possible (Source: Woodcraft).
When sanding an end grain cutting board, you must control how much pressure you apply to the wood. Like any other wood project, start with a coarse grit, and work your way up through higher grits until you get to a good finish.
You should use less pressure when working with lower grit sandpaper, and it’s best to use horizontal strokes across the grain.
Work your way up through the grits and put enough pressure on your wood to flatten out the previous grit marks without going through to fresh wood at each stage.
Doing this will probably take you quite a few passes to get it looking perfect, but the results are worth it!

What Grit Should I Use To Sand an End Grain?
In general, coarser grit will cut the wood without abrading it to fresh wood, and the higher grits will smooth out the scratch marks from the coarser grit.
It’s usually best to begin with coarse-grit sandpaper and work your way up. (Source: Popular Woodworking).
To sand an end grain, start with coarse-grit sandpaper, something like 80 or 100, to break the wood fibers. 60 to 80 will do the trick for hardwoods like maple or oak. Then, use finer grits (like 150 or 220) to remove any tear-out marks.
Which Direction Should I Sand the End Grain?
Always sand in the direction of the end grain. Sanding against the grain will result in more sawdust and chip out the end grain, making it even worse than before.
Sanding with the grain also reduces the chance of scratching out deep grooves that are hard to get rid of.
Look at the end grain from the side to find the right direction. The growth rings that appear to be going up and down are diagonal to the flat surface of the board.
You should try to sand perpendicular to the growth rings, which will align with your sandpaper’s grain direction.
Final Thoughts
I hope you found this guide on sanding the end grain helpful! All you have to remember is to be patient and gentle with your wood to ensure that you don’t make it worse than before.
So, happy woodworking!