


Sanding might seem like a rather dull end to all that enjoyable woodworking you did, but unfortunately, it is a necessary evil.
However, you don’t have to spend hours sanding your work, and there are ways to ensure that you have a great result every time.
Sanding with the grain is crucial for a good product and could easily mean the difference between a piece of art and the next project that goes in the trash.
To sand with the grain and give your woodworking projects the smoothest finish possible, you can use an orbital sander, belt sander, drum sander, or your hands to keep the grit going in the proper direction.
Sanding with the grain will reduce splintering, leaving your wood flat and smooth.
Knowing the ins and outs of sanding is imperative to the success of your next project. Taking steps to make the most out of your craft will ultimately leave you with the best piece of work possible.
In the rest of this article, I will go through each of the above subheadings to make sure that you fully understand why sanding with the grain is so necessary and how you can use power tools to your advantage to get that job done even better.

Why You Should Sand With the Grain
You should sand with the grain because, when you do, your woodwork will have a more polished and proportionate finish.
Going with the grain is essentially following the natural direction of the wood to prevent potential splintering.
While sanding with the grain is essential, keeping your power sander going in the proper direction can be challenging.
Still, you should always avoid grinding across the grain and never go against it. (Source: Homeguides SFgate)
Since sanding is the process of grinding down a wooden surface by polishing over scratches and imperfect edges, it makes sense to sand with the grain.
Doing so will ensure that your result will be as smooth as possible with all imperfections sanded away. (Source: Woodworking Street)
When sanding with the grain, the surface of the wood will be flatter and more seamless.
Subsequently, you will invariably find that the wood will hold with varnish, polish, oils, and any paintwork you intend to do better when you sand it this way.
Which Way Is ‘With the Grain’ and How To Tell?
Figuring out which way the grain runs can sometimes be as simple as taking a quick look at the wood and following the direction of the lines.
However, reading the grain can sometimes be more complicated – and it is often deceptive.
For example, on rough timber that has been untreated, it might seem as though there isn’t a grain to follow either way; however, you can find the grain simply by brushing your hand lightly over the wood. (Source: Popular Woodworking)
The way that the wood’s fibers grow is with the grain. To determine which way is with the grain, run your hand over the wood.
If you feel splinters, then your hand is moving against the natural direction of the grain. If you don’t feel splinters, it’s with the grain.
You may need to run your hand back and forth a few times to find the smoothest path, which is the direction you should sand your wood.
It can be more challenging to spot the grain direction on smoother woods, but looking at the angle of any darker lines that have formed can help you figure it out. (Source: Wood Magazine)

How To Sand With the Grain
Depending on the tools you already have and how large or detailed your woodworking project is, you can choose to sand your wood with a random orbital sander, belt sander, drum sander, or by hand.
Depending on the power tool you use, sanding with the grain can be a different experience every time.
It is essential to use each tool properly, as sometimes the more demanding power tools can be challenging to use on the grain.
Sanding the Grain With a Random Orbital Sander
Orbital sanders tend to move in a circular motion. The trick here is to move as slowly as possible, applying only a minimal amount of pressure.
If you rush the process, you will make scratches on the wood, and you will inevitably have to sand them out later.
For the best results, move slowly in small circles down the length of the wood – with the grain – and never move the sander back roughly against the grain.
At the end of the process, if you find some minor scratches, you should be able to sand them out easily by hand. (Source: Family Handyman)
Sanding the Grain With a Belt Sander
Belt sanders can easily gouge out splinters in the wood, so go easy when using this robust power tool.
The trick is to keep moving in the direction of the grain and never push back against the grain.
Keep the speed level at all times so that you aren’t left with uneven sanding, and be sure to clean the dust frequently between each sanding. (Source: Family Handyman)
Sanding the Grain With a Drum Sander
Drum sanders are big, heavy tools to work with. They often take a bit of getting used to, but eventually, you’ll always find they do the job well.
To sand, prepare your wood, and always use ear protection (they can be very noisy).
It would also be best to ensure that the room you are working in is adequately ventilated before beginning the sanding process. That;’s because these machines can shoot a lot of dust into your space and lungs.
Next, find the direction of the grain, then move diagonally downwards across the wood.
This method works exceptionally well when processing wooden flooring since a drum sander wouldn’t work efficiently with a wooden plank. (Source: How Stuff Works)
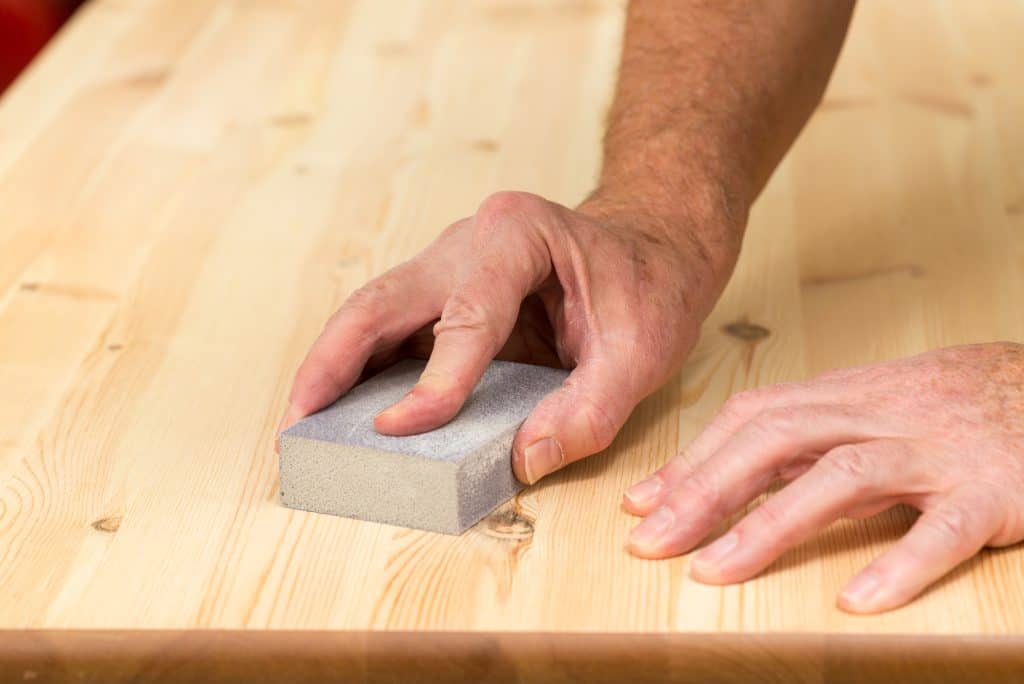
Sanding the Grain by Hand
Hand-sanding is probably the best way to go if you need a lot of control or have to work around joints and details.
You can easily sand with the grain with a slow control if you use sandpaper and a sanding block, and getting into all those crevices will be much easier than using a power tool such as the orbital sander.
The key to hand-sanding is maintaining a steady pressure and taking your time. Good sanding always takes time, primarily if you work with the grain by hand.
It might be challenging work, but you’ll be glad you took your time once you see the end product. (Source: Woodsmith)
How Do You Raise the Grain When Sanding?
Once you’ve sanded down the surface of the wood, it is crucial to raise the grain.
This step is vital since it makes sanding a piece of wood easier, as you’ve lifted all the splinters from the surface of the wood, making it much easier to cut them away. (Source: Highland Woodworking)
The best way to raise the grain when sanding is to use a wet cloth.
After you’ve partially sanded down your wood, use a damp cloth or a sponge to wipe over the surface in the direction of the grain, which will lift up any sharp, splintery fibers of the wood.
At this point, you should always let the wood dry before sanding again. This step ensures that the wood will maintain its integrity once you sand the surface again. (Source: The Finishing Store)
Conclusion
I hope this article was helpful and gave you enough tips to sand effectively with the grain.
Maintaining the integrity of the natural run of the grain is a great way to ensure that your finished product is as perfect as possible – and bringing out the natural beauty of the wood should always be your end goal.