


Table of Contents
Sanding can be a frustrating and time-consuming endeavor. Unfortunately, sometimes, you just have to do it – especially if you’re refinishing a piece of furniture or trying to get rid of a scratch on your floor.
The good news is there are some ways to reduce the amount of dust and mess that comes with sanding indoors.
To sand indoors without making a mess, start by covering the floor around your work area with a drop cloth. Then, set up a dust containment system by attaching a shop vac to your sander. Be sure to seal off any openings in the room with plastic sheeting to prevent dust from escaping.
In the rest of this article, I’ll take you through a few innovative tips and tricks on how to facilitate the sanding process. This will include the best way to sand dry walls, ceilings, furniture & more.
How Can I Sand Drywall Without Making a Mess?
To sand drywall without making a mess, use low-grit sandpaper; higher grits will clog up more quickly. Additionally, work in small sections and vacuum regularly to prevent dust from spreading.
One of the trickiest materials to sand without making a mess is drywall. If you’re not careful, the dust can quickly spread throughout your home and be difficult to clean up. Here are some solid hacks to help you sand drywall without making a mess:
Use a Low-Grit Sandpaper
Using the right type of sandpaper when sanding drywall can be of the essence – using a low-grit paper will help avoid clogging. Higher grits are more likely to clog, so it’s best to start with a low grit and move up if necessary.
However, keep in mind that when it comes to clogging, technique matters as well. Also, for some types of drywall jobs, using different grits of sandpaper for drywall is inevitable. See our guide on the best grit sandpaper for drywall here.
Keep Moving
If you’re doing any kind of sanding indoors, keeping the mess to a minimum is to keep the sandpaper moving. If you stay in one spot for too long, you’ll be left with a big pile of dust.
Therefore, regardless of what type of surface you’re sanding, make sure to keep moving the sandpaper around. Standing in one spot for too long can also create deep scratches that will be difficult to fix.
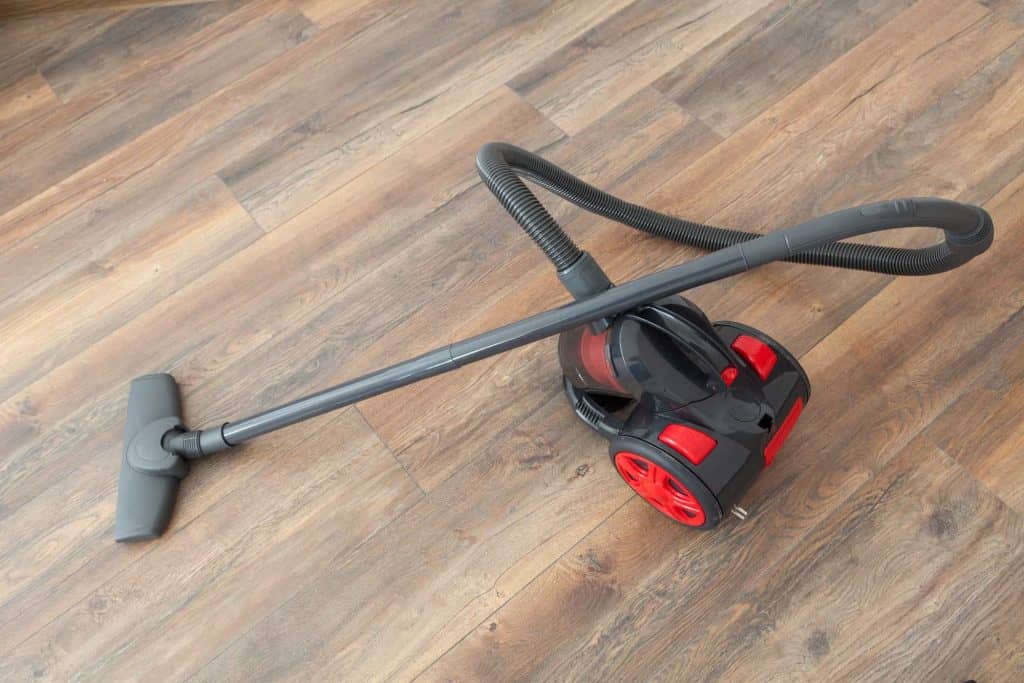
Use a Vacuum Cleaner With a Dust Bag To Suck Up the Majority of the Dust
If you’re planning to do some drywall sanding, there’s one thing you can do to make the job a lot easier – and that’s to use a vacuum cleaner with a dust bag. This will suck up most of the dust, leaving you far less to clean up afterward.
Just make sure that you put the vacuum cleaner on the highest setting, otherwise, the dust will just fly around, and you’ll end up making an even bigger mess!
Wipe Down With a Damp Cloth To Eliminate Any Remaining Dust or Debris
After you’re done sanding, removing debris is important. The best way to do this is with a damp cloth. Wiping down the walls will ensure you don’t create a mess.
Finally, ensure you wear a dust mask when you sand. This will help protect your lungs from the fine dust particles created when you sand your drywall.

Apply the Sandpaper to the Drywall in Long, Even Strokes
Applying the sandpaper in long, even strokes will help you avoid making a mess. Start with a coarse-grit paper and apply it in a circular motion.
Moving the sandpaper in a circular motion will help to avoid leaving scratches on the material. It will also help remove any imperfections on the surface of the drywall.
Then, move on to a finer-grit paper and move similarly. Be sure to vacuum regularly and wipe down the walls with a damp cloth when you’re finished.
Keep Checking Your Work As You Go To Make Sure It’s Smooth and Even
Checking your work as you go is the key to sanding drywall without making a mess. This way, you can ensure that the surface is smooth and even.
If you see any uneven spots, simply sand them down until they’re level with the rest of the surface. Sand in small circles, using light pressure. As you sand, make sure to check for any imperfections.
When you’re finished sanding, vacuum up any remaining dust and debris. Then, wipe down the area one last time with a damp cloth. Once satisfied with the results, vacuum up any dust and debris.
Use a Dustless Sander for a Cleaner Sanding Experience
If you want to avoid making a mess when sanding, then using a dustless sander is the way to go. These sanders are designed to suck up most of the dust before it has a chance to escape (source: Elite Hardwood Flooring).
Dustless sanders are available in both hand-held and stationary models. Investing in a stationary model is probably your best bet if you’re doing a lot of metal sanding. For drywall, though, an electric drywall sander is the way to go.
Not only will this save you time, but it will also help you avoid making a hard-to-clean mess!
How To Sand Wood or Furniture Without a Mess
To sand wood or furniture without a mess, ensure that you’re working in small sections and applying a light touch to ensure that the entire sanding process is completed without many dust particles flying around.
Here are some of my top tips elaborated for your convenience:
Work in Small Sections and Use a Fine-Grit Sandpaper
It’s not a fun task, but sanding a ceiling is a necessary step if you’re planning on repainting. And while it may seem like a daunting job, the best way to approach it is by working in small sections.
Start by taping off the edges of the area you’ll be working on. Then, using fine-grit sandpaper, sand the entire surface in a circular motion.
Once you’ve gone over the entire area, vacuum up the dust and debris. Repeat this process until the entire ceiling is smooth. With a little patience and attention to detail, you’ll have a perfect surface for painting in no time.
Sand With a Light Touch To Avoid Creating More Dust
To avoid creating a dusty mess when sanding wood or furniture, start with light pressure and gradually increase it if needed. Use a vacuum cleaner with the hose attachment to regularly clean the surface you’re sanding.
Move the sander constantly to avoid leaving lines in the wood. If possible, sand outdoors where there’s less risk of making a mess. When you’re finished sanding, use a damp cloth to wipe down the surface and remove any remaining dust particles.
Wet Sanding
Wet sanding is a technique that can be used to create a smooth, even finish on wood surfaces. The process involves sanding the surface with wet sandpaper, which lubricates the paper and helps prevent you from burning or scratching the wood (source: Wood Magazine).
Wet sanding is used on both finished and unfinished wood, and it is particularly effective at removing old paint or varnish. The key to success is to apply a light touch and keep the paper moving to avoid damaging the wood.
Wet sanding is an important step in finishing wood or furniture. Wetting the sandpaper creates a smooth, level surface that allows for a more even application of paint or stain.
Additionally, wet sanding helps prevent dust from settling on the surface of your workpiece. As a result, wet sanding can save you time and effort in the long run.

Sanding a Ceiling Without Making a Mess
When sanding a ceiling, there are two schools of thought: those who think it’s a messy endeavor best avoided and those who believe that a little dust is a small price to pay for a perfectly smooth finish. If you fall into the latter category, there are a few approaches you can try to minimize the mess.
Work in Small Sections
When sanding a ceiling, the key is to work in small sections. Start by taping off the edges of the area you’ll be working on. This way, you can contain the mess and prevent any accidents.
Then, use fine-grit sandpaper for sanding the surface lightly. Be sure to go with the wood grain and move your hand in a circular motion. Once you’re finished, vacuum up the debris and wipe the area with a damp cloth.
Prevent Dust From Entering Other Rooms
Dust particles seem to float in the air, eventually settling on floors, furniture, and other rooms. The best way to prevent this dust from spreading is to seal off the room where you’ll be doing the sanding.
It’s better to have a little dust in one room than to have it spread throughout the house. This way, you can contain the mess and avoid any accidents.
Use plastic sheeting to cover doorways and any other openings.
Proper Safety Gear Is Important
When it comes to sanding, safety should always be the top priority. And while sanding outdoors presents its own set of dangers, sanding indoors can be even riskier due to dust and debris build-up.
That’s why it’s important to ensure you wear the proper safety gear when sanding indoors. This includes a dust mask to prevent inhaling harmful particles, earplugs to protect your hearing, and goggles to keep the harmful dust out of your eyes (source: Purdue University).
By taking these simple precautions, you can help ensure a safe and productive sanding experience.

Cover Nearby Furniture and Floors With Plastic Sheeting
Sanding can create a lot of unnecessary dust, and if you’re not careful, that dust can quickly spread throughout your home, settling on furniture, floors, and even electronics.
To avoid this, cover nearby furniture and floors with plastic sheeting before you start sanding. This will help contain the dust so you can easily clean it up once you’re finished.
Sanding Spackle or Plaster Without the Mess
Anytime you need to sand down spackle or plaster, there’s always the risk of making a big mess. Fine dust particles can quickly spread everywhere, making it hard for you to clean up afterward. However, by following a few of these simple tips, you can quickly minimize the mess.
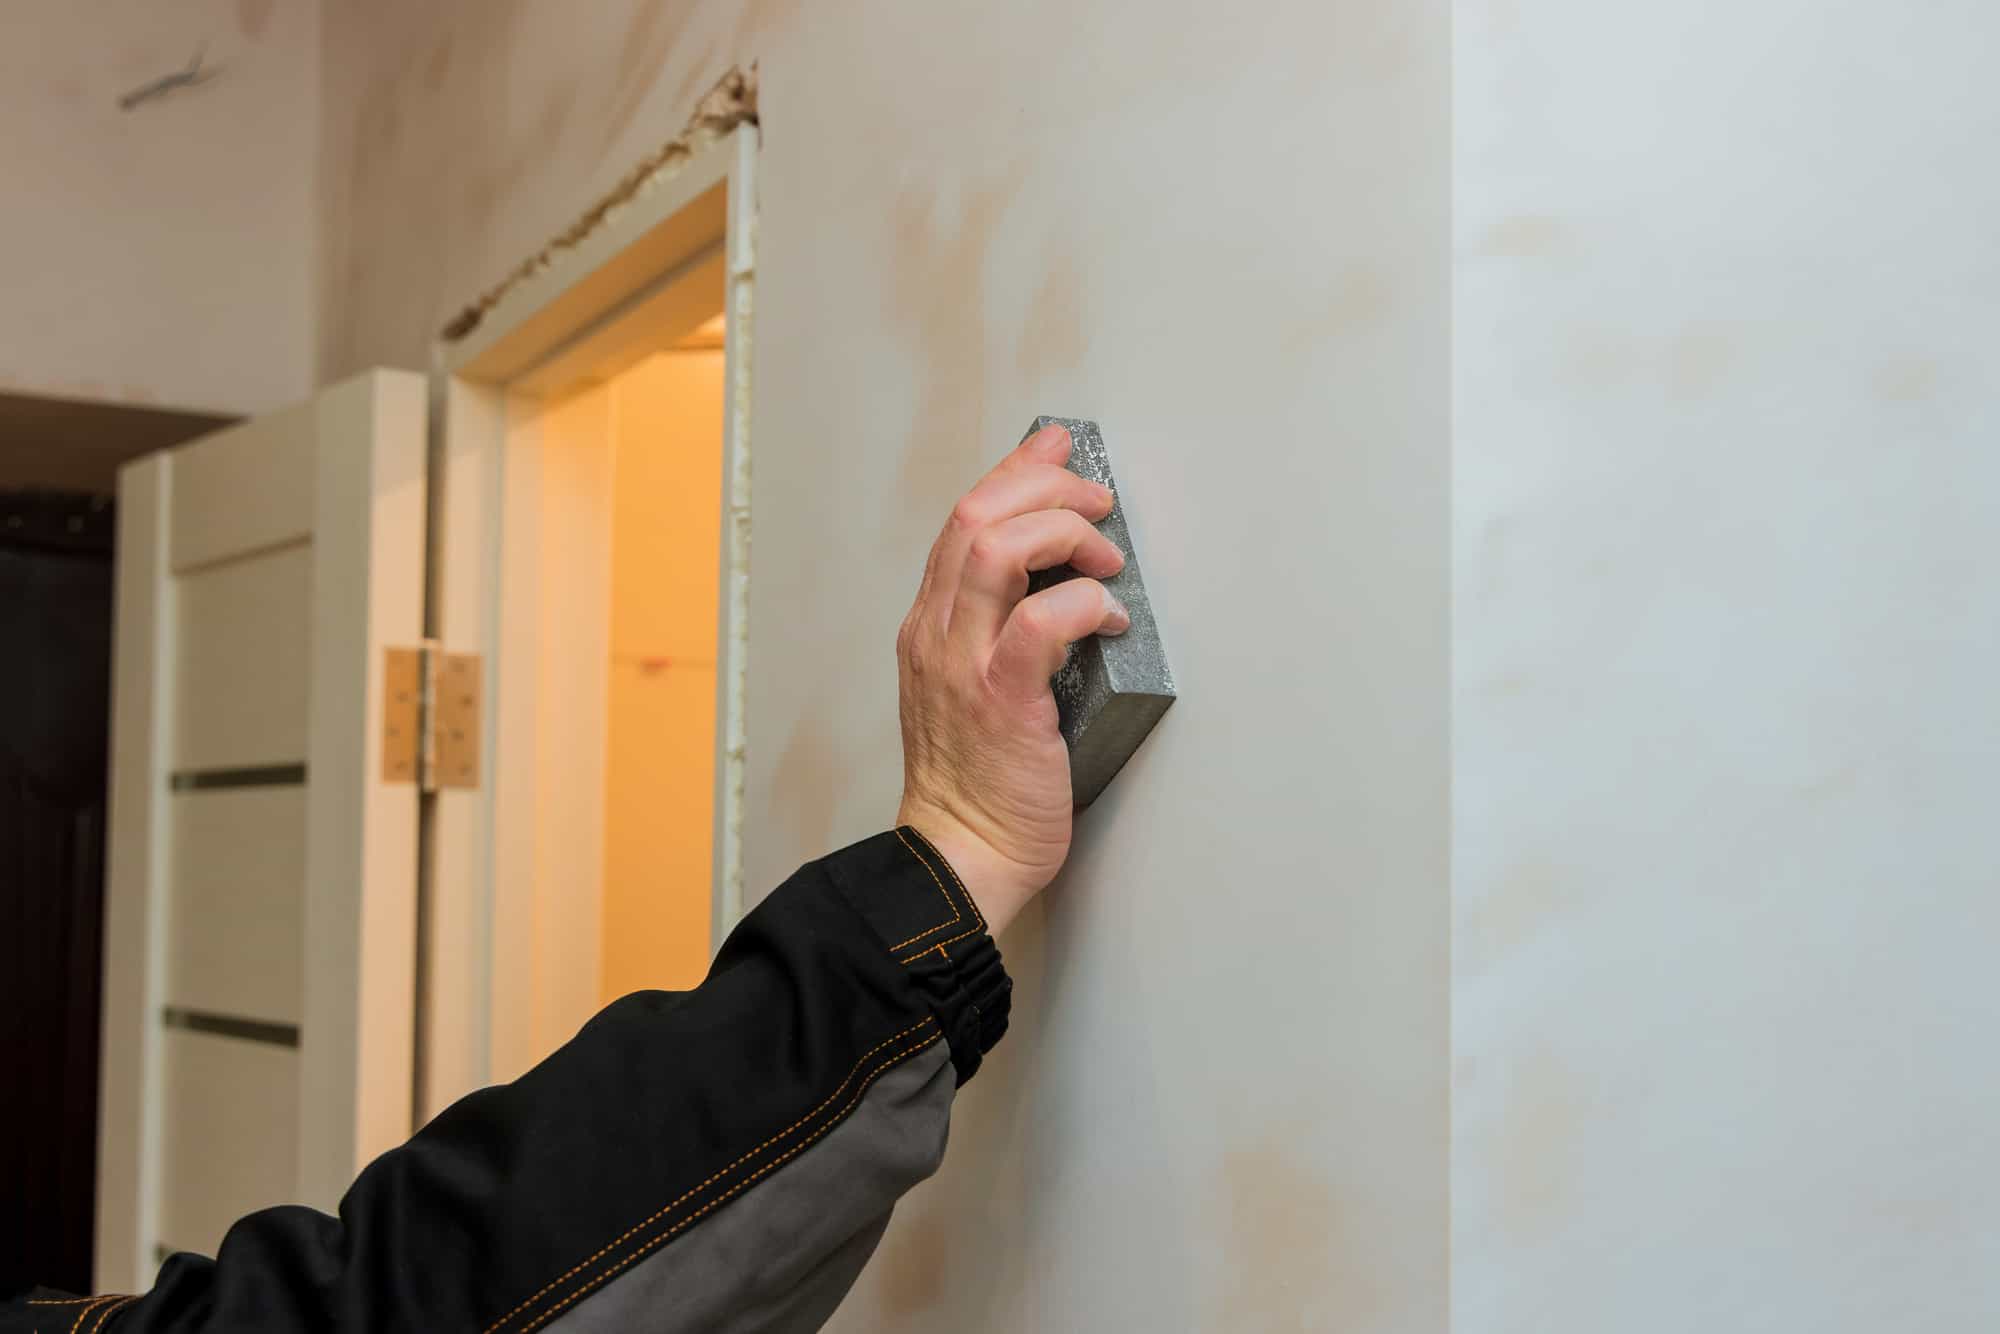
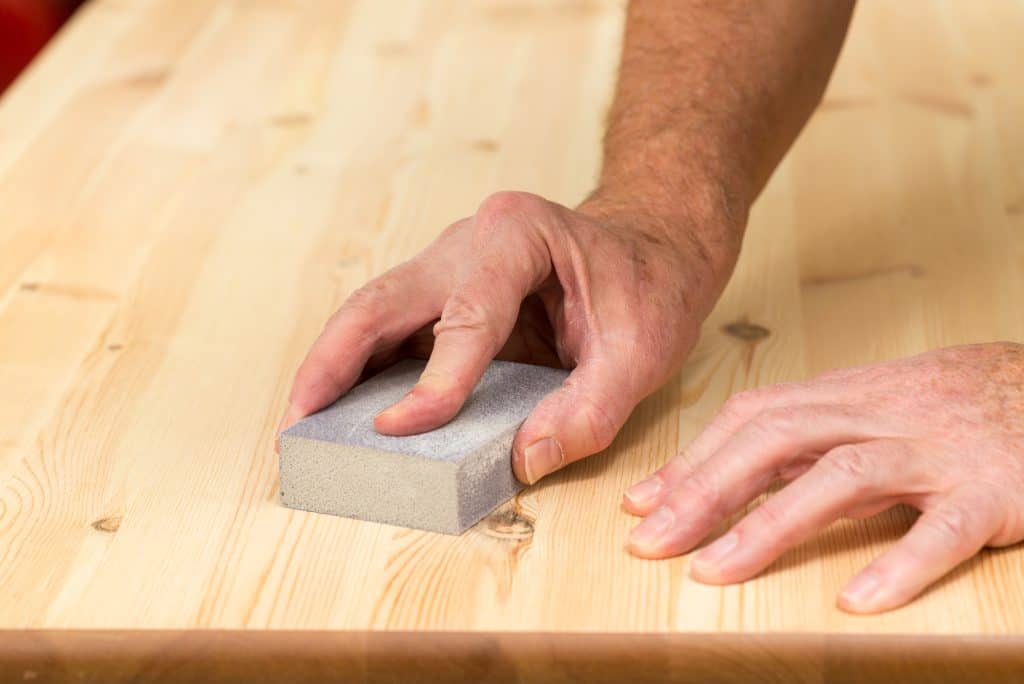
Use a Damp Sponge To Sand the Spackle
If you’ve ever tried to sand spackle or plaster, it can be a bit of a messy process. Even with the best dust masks and respirators, it’s easy to wind up with a face full of white powder.
Thankfully, there’s an easy way to avoid the mess: simply use a damp sponge to rub the spackle. The sanding sponge will help to prevent the spackle from flying around while also helping to keep your work area clean.
Plus, it’s just as effective as normal sanding, so you won’t have to worry about sacrificing quality for convenience.
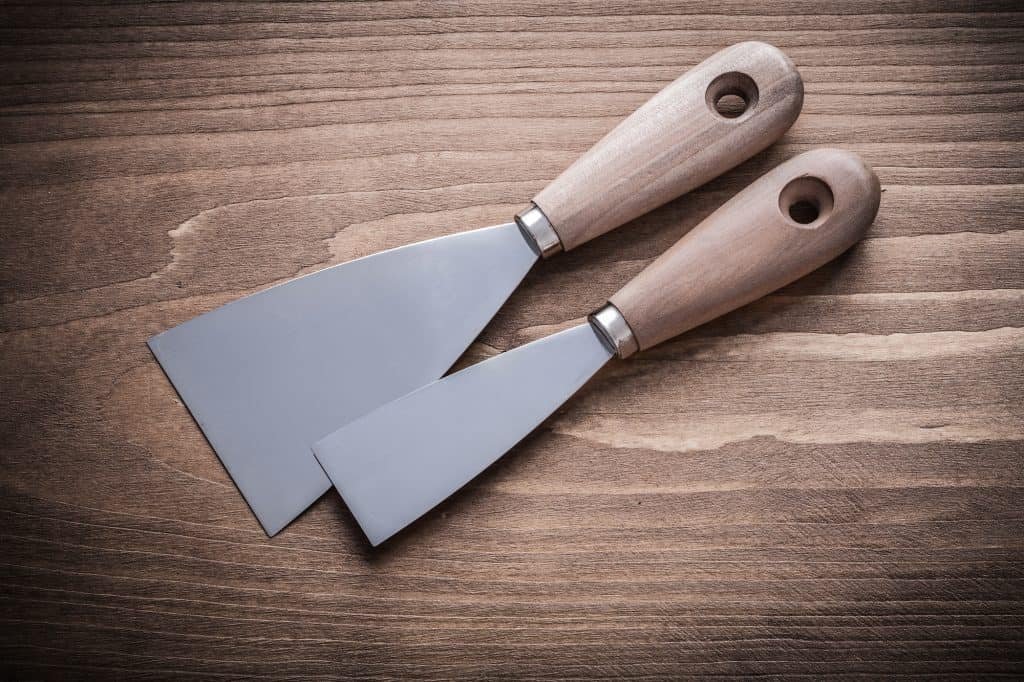
Use a Putty Knife or Trowel
Even the slightest imperfection can cause the material to clump up and become difficult to work with when the surface is uneven. Fortunately, there are a few tricks you can try that can make the process easier.
One of the most important is to use a putty knife or trowel to create a smooth, even surface. By gently running the tool over the surface, you can help break up any clumps and ensure that the material is evenly distributed.
This will not only make sanding easier but will also result in a smoother, more professional-looking finish.
Let Dry Completely Before Sanding
When repairing holes in your walls, it’s important to let the spackle or plaster dry completely before sanding. Otherwise, you’ll create more dust and make an even bigger mess.
Plus, it’s harder to get a smooth, even finish if the spackle isn’t completely dry. So, be patient and give it time to dry completely before moving on to the next step.
If you’re mudding drywall, doing it properly the first time around will also prevent you from having to sand in the first place. For more on this, see our guide to mudding uneven drywall.
With these tips in mind, you can sand indoors without making too much of a mess. Just be sure to take your time and work slowly to get the best results.